Save
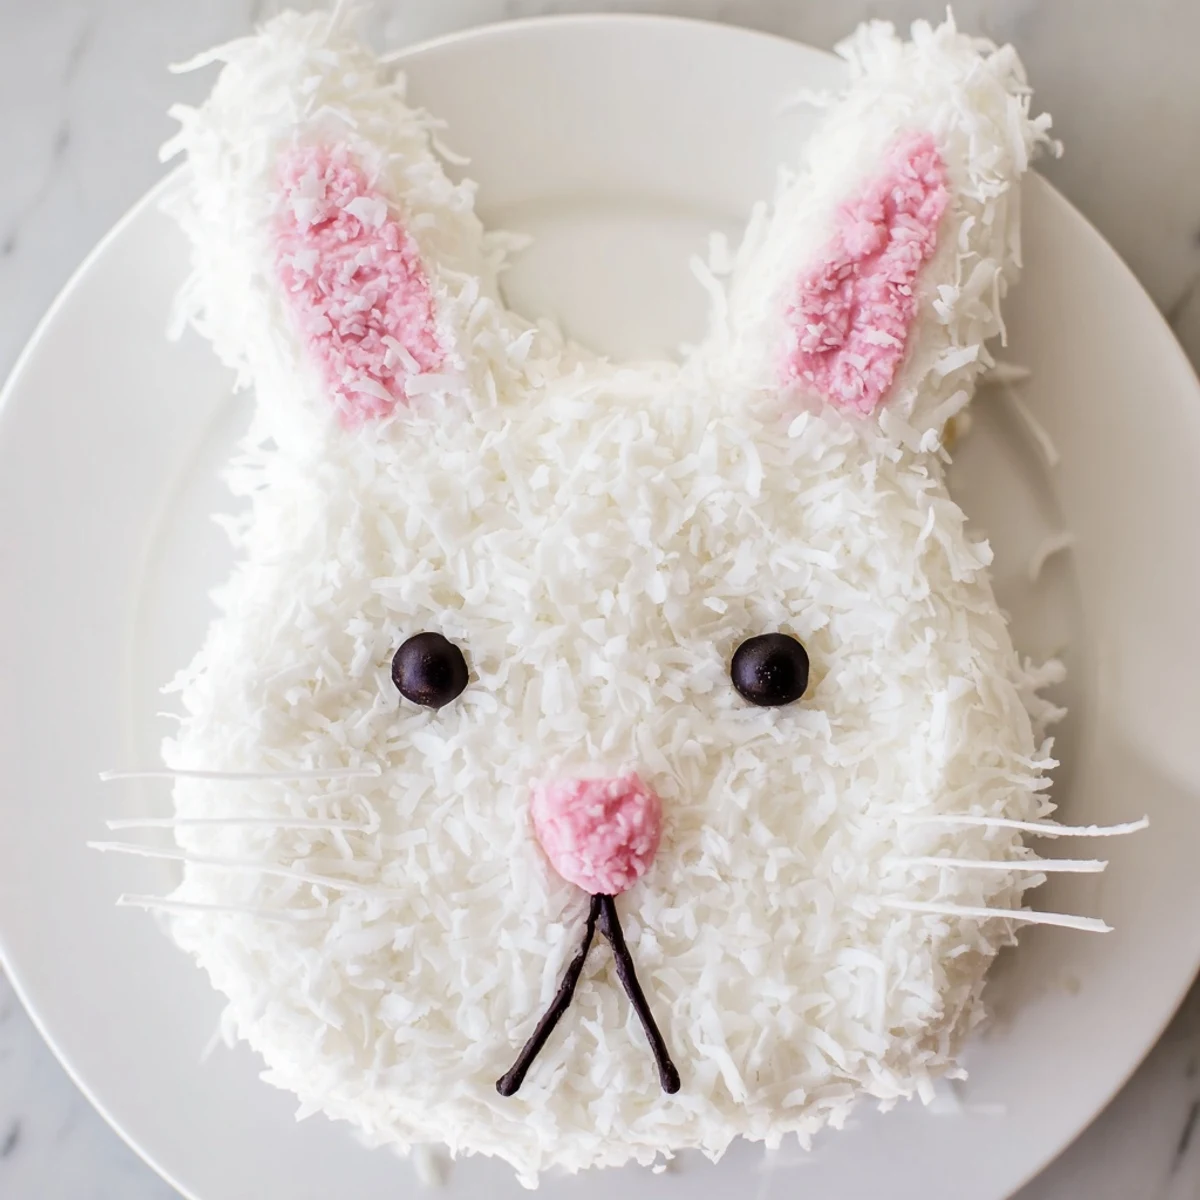
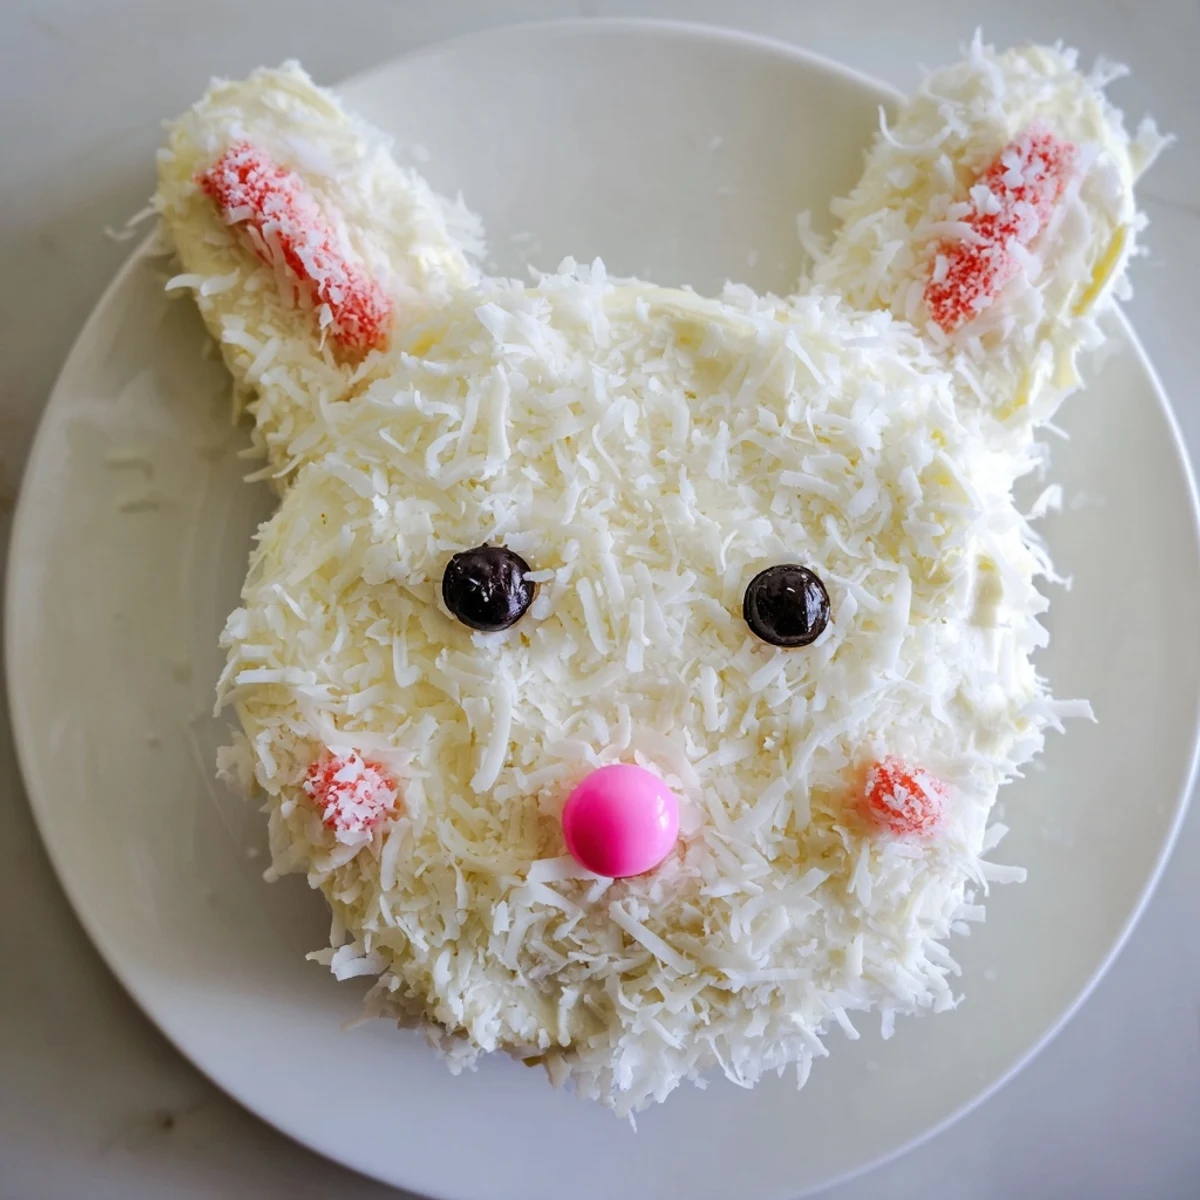
Save This delightful bunny-shaped cake combines moist vanilla layers with creamy buttercream frosting and shredded coconut for a furry texture. The whimsical design features a round face, pointed ears, and a playful bow tie arrangement that makes any spring celebration memorable.
Perfect for Easter gatherings or birthday parties, this impressive centerpiece comes together with basic baking techniques. The coconut creates realistic fur while pink-tinted details and candy features bring the bunny to life.
With straightforward preparation and decoration steps, bakers of all skill levels can craft this show-stopping dessert. The vanilla base offers universal appeal, while the charming presentation guarantees smiles from guests of all ages.
The first Easter after my daughter turned three, she announced that bunnies were the most important part of spring. Not eggs, not flowers, definitely not the ham. She wanted a bunny cake and she had very specific opinions about what that bunny should look like. I stayed up until midnight with coconut snow all over my kitchen floor, piping bags everywhere, and the proudest little lopsided bunny you ever did see.
Last spring my neighbor asked if I could help her create something special for her granddaughters birthday party. We made this together in her tiny apartment kitchen, listening to old records and drinking tea while the cakes cooled. Her granddaughter took one look at that coconut covered bunny and declared it the best cake in the whole world, which is exactly the kind of review that keeps you baking year after year.
Ingredients
- All purpose flour: The backbone of this tender vanilla cake, providing structure without being too heavy.
- Baking powder and baking soda: Work together to give the cake a nice rise and soft crumb.
- Unsalted butter: Room temperature butter is non negotiable here, it needs to be soft enough to cream properly with the sugar.
- Granulated sugar: Sweetens and helps create that lovely light texture we want in a celebration cake.
- Large eggs: Bring everything together and add richness, use them straight from the fridge for best results.
- Whole milk: Creates moisture and tenderness, though you can use buttermilk for a slightly tangier crumb.
- Vanilla extract: Do not skimp here, good vanilla makes all the difference in a simple cake.
- Powdered sugar: Sift it first to avoid any lumpy spots in your silky buttercream frosting.
- Sweetened shredded coconut: Creates that irresistible fluffy fur texture that makes this bunny so charming.
- Pink food coloring: Just a tiny drop transforms plain coconut into those sweet inner ear details.
- Jelly beans and fondant: These bring your bunny to life with personality, though you can use whatever candies your family loves most.
Instructions
- Get your oven ready:
- Preheat your oven to 350°F (175°C) and grease two 8-inch round cake pans with butter, then dust them with flour. This little prep step ensures your cakes will release perfectly later.
- Mix your dry ingredients:
- In a medium bowl, whisk together the flour, baking powder, baking soda, and salt until everything is evenly combined. I like to do this first so I am not scrambling later.
- Cream the butter and sugar:
- Beat the softened butter and granulated sugar in a large bowl until the mixture turns pale and fluffy, about 3 minutes. This step incorporates air into the batter, which helps the cake rise beautifully.
- Add the eggs and vanilla:
- Beat in the eggs one at a time, letting each one fully incorporate before adding the next, then stir in the vanilla extract. Take your time here, a patient mixer makes a better cake.
- Combine wet and dry:
- Alternate adding the flour mixture and milk to the creamed butter, starting and ending with the flour mixture and mixing only until just combined. Overmixing at this stage can make your cake tough, so gentle is the keyword.
- Bake the cakes:
- Divide the batter evenly between your prepared pans and bake for 22 to 25 minutes, until a toothpick inserted in the center comes out clean. The smell of vanilla cake baking is one of the best things in the world.
- Cool completely:
- Let the cakes rest in their pans for 10 minutes before turning them out onto wire racks to cool completely. Warm cakes and frosting do not get along, so patience pays off here.
- Make the frosting:
- Beat the softened butter until smooth, then gradually add the powdered sugar, vanilla, salt, and enough milk to achieve a spreadable consistency. Taste as you go, adjusting the sweetness or thickness to your liking.
- Shape your bunny:
- Leave one cake round whole for the face, then carefully cut the second round into two equal ovals for the ears and shape the remaining center into a bow tie. Do not worry if it is not perfect, the coconut will hide everything.
- Arrange and crumb coat:
- Set up your bunny pieces on a large serving tray and spread a thin layer of frosting over the entire surface. Chill for 20 minutes to lock in those crumbs and make the final frosting easier.
- Add the coconut fur:
- Frost the cake fully and gently press shredded coconut all over the surface, covering every bit of frosting. This is the messy but magical part where your bunny really starts to come to life.
- Detail the ears:
- Tint a small handful of coconut with a drop of pink food coloring and carefully press it onto the inner sections of the ear pieces. The contrast between white and pink creates such a sweet realistic touch.
- Add the face:
- Use fondant or marshmallows to finish the ear details, then place candies for the nose, eyes, and whiskers however you like. Every bunny develops its own personality at this stage.
 Save
Save My niece helped me decorate the bunny for our family Easter last year. She was so careful placing each jelly bean eye, her tongue stuck out in pure concentration. When we finally carried that cake to the table, the whole room went quiet for exactly three seconds before everyone started taking pictures.
Making It Ahead
You can bake the cake layers up to two days in advance, wrap them tightly in plastic, and store them at room temperature. The frosting can also be made a day ahead and kept in the refrigerator, just let it come to room temperature and give it a quick stir before using.
Serving Suggestions
This cake is sweet and rich on its own, so I like to serve it with something slightly tart to balance things out. Fresh berries or a crisp glass of sparkling wine cut through the buttercream beautifully.
Decoration Ideas
While the traditional coconut bunny is absolutely darling, you could also use chocolate frosting for a more dramatic look or tint the coconut pastel colors for a spring garden vibe. Some years we have even made chocolate Easter eggs to arrange around the base.
- Try using different colored jelly beans to match your holiday tablescape.
- Mini chocolate chips make adorable whiskers if you want something semi permanent.
- Leftover coconut can be toasted lightly for a golden bunny variation.
 Save
Save There is something wonderful about making food that makes people smile before they even take a bite. This bunny cake has become a spring tradition at our house, not because it is fancy, but because it is pure joy on a platter.
Common Recipe Questions
- → How far in advance can I make this bunny cake?
-
Prepare the vanilla cake layers up to two days before decorating. Wrap cooled cakes tightly in plastic and store at room temperature. The frosted finished cake keeps well for 2 days at room temperature or up to 4 days refrigerated. Add coconut and candy decorations within 24 hours of serving for the freshest appearance.
- → What's the best way to cut the cake into bunny shapes?
-
Leave one 8-inch round cake whole for the bunny face. Cut the second round in half to create two oval ear pieces. Use the remaining curved scraps to form a bow tie shape. Arrange all pieces on a large serving board or tray before frosting to ensure proper placement and spacing.
- → Can I use cake mix instead of homemade vanilla batter?
-
A boxed vanilla cake mix works perfectly as a time-saving alternative. Prepare according to package instructions and bake in two 8-inch rounds. The texture and taste will still be delicious, allowing you to focus energy on the creative shaping and decorating process.
- → How do I get the coconut to stick to the frosting?
-
Apply a generous layer of buttercream frosting over the entire cake surface. Press handfuls of shredded coconut gently into the frosting while it's still fresh and tacky. Work in small sections, sprinkling coconut over the frosting and lightly pressing with clean hands to ensure full coverage.
- → What alternatives work for bunny facial features?
-
Jelly beans make excellent eyes and noses, but consider chocolate chips, raisins, or licorice buttons for variety. Pink candy hearts work well for noses. For whiskers, use thin licorice laces, pretzel sticks, or piped frosting. Fondant ears can be replaced with pink marshmallow slices or construction paper for purely decorative versions.
- → Can I make this chocolate instead of vanilla?
-
Chocolate cake pairs beautifully with coconut and makes an equally striking bunny. Use your favorite chocolate cake recipe or swap the vanilla batter for chocolate. The darker color creates dramatic contrast with white coconut fur, while the rich chocolate flavor satisfies chocolate lovers.