
 Save
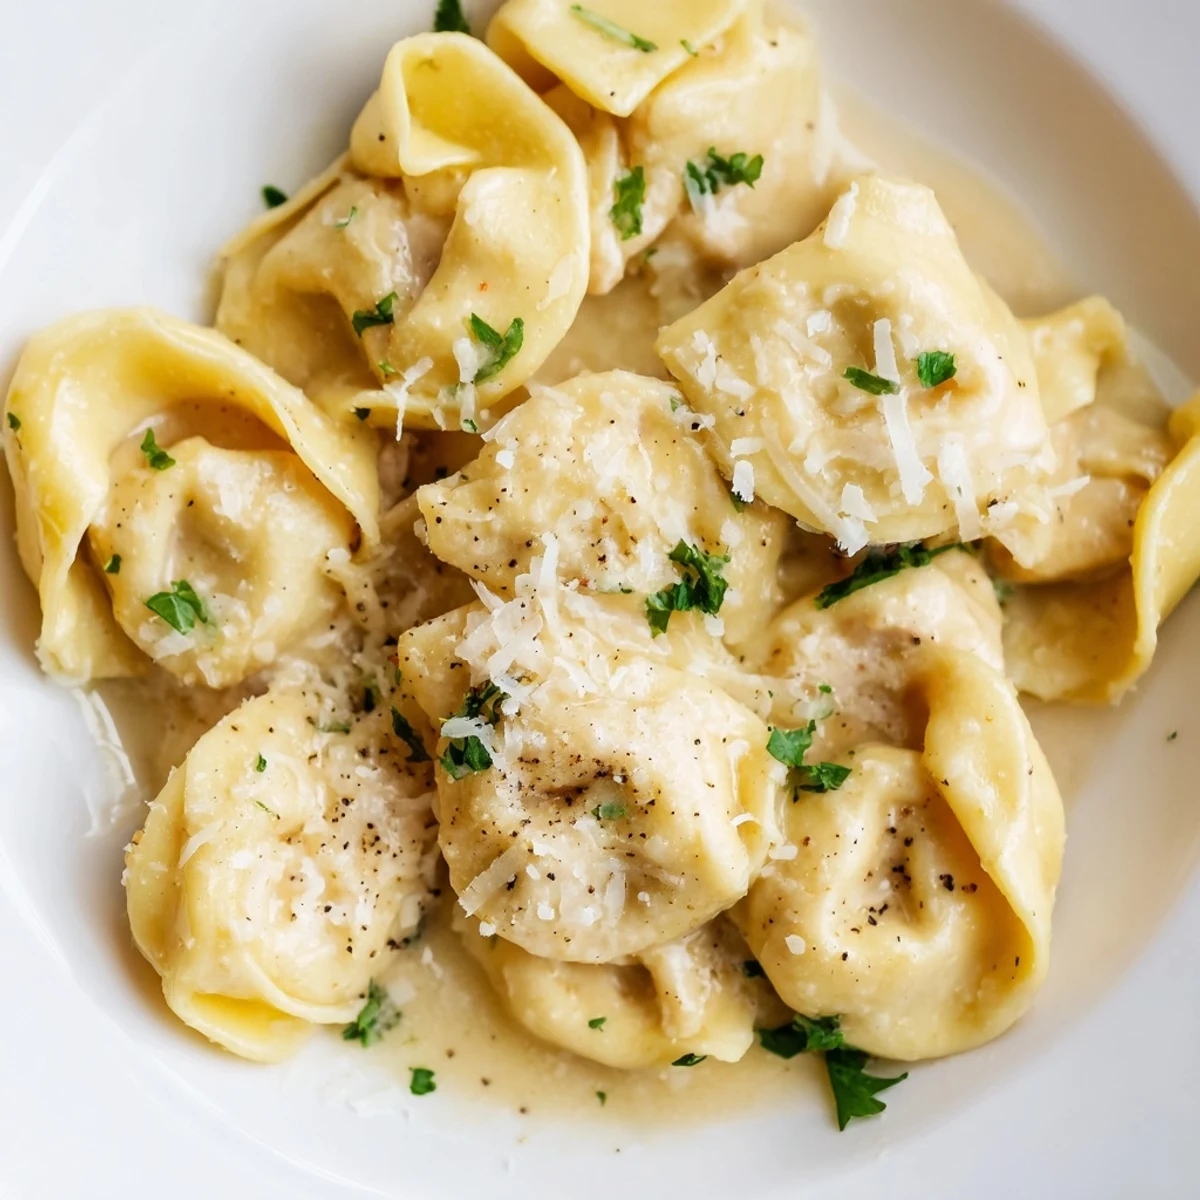
Save This Chicken Tortellini brings the heart of Italian cooking straight to your kitchen. Tender pasta dough encases a savory blend of finely chopped chicken breast, ricotta, Parmesan, garlic, and fresh parsley, seasoned with a whisper of nutmeg.
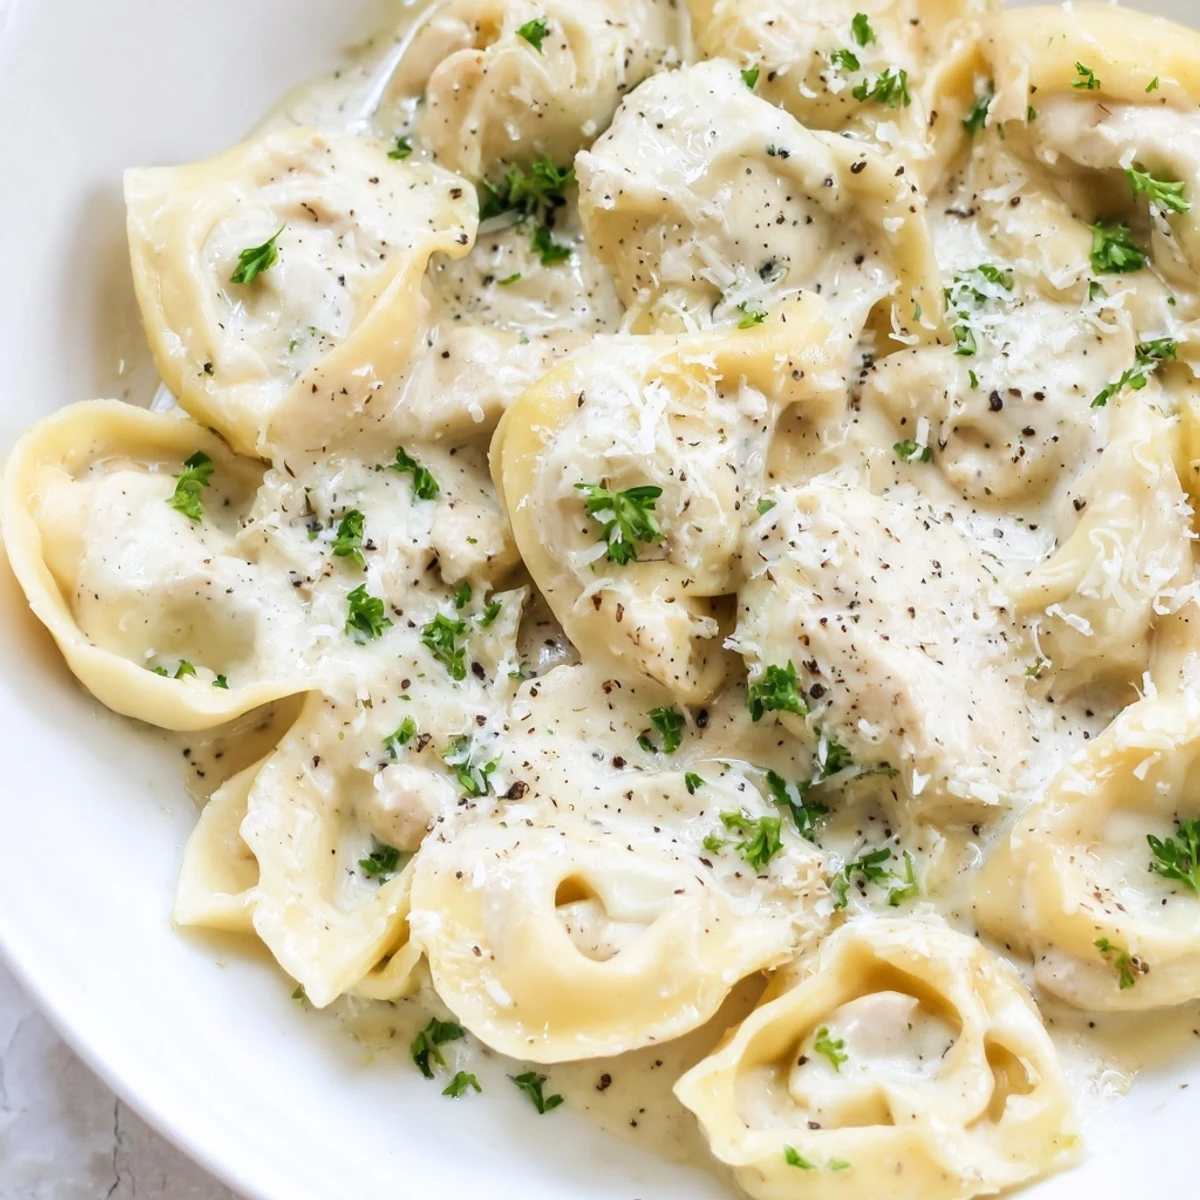
Each tortellini is carefully folded and sealed, then gently poached until they bob at the surface. The finishing touch is a silky cream sauce built from just butter, heavy cream, and Parmesan that coats every piece beautifully.
Ready in about an hour, this dish strikes the balance between elegant enough for guests and comforting enough for a Tuesday night. A scattering of fresh parsley and extra Parmesan completes the plate.
The flour exploded everywhere when my elbow caught the edge of the mound, and for a second I stood there covered in white dust like some hapless baker in a cartoon. That was my first attempt at homemade tortellini, and honestly the mess was worth every second. There is something deeply satisfying about folding those little parcels of pasta and watching them plump up in boiling water. This chicken tortellini with cream sauce has since become my answer to evenings that call for a little extra warmth without demanding the whole night.
My sister walked in one Sunday while I was sealing the last batch and immediately started stealing them off the cutting board, raw and all, pretending not to hear me warn her about the egg wash. We laughed until she nearly dropped an entire tray. Those are the kinds of moments this dish seems to invite, maybe because making pasta forces you to slow down and be present.
Ingredients
- All purpose flour (2 cups): The foundation of your dough, so grab a reliable brand and mound it with confidence on your counter.
- Large eggs (3): Fresh eggs give you a richer, more pliable dough that rolls out beautifully without cracking.
- Salt (1/2 tsp for dough): Just enough to season the pasta itself, since the filling and sauce carry the bold flavors.
- Cooked chicken breast, finely chopped (1 cup): Rotisserie chicken is a lifesaver here, just shred it fine so every bite of filling holds together.
- Ricotta cheese (1/2 cup): This keeps the filling moist and creamy, so drain excess liquid first if your ricotta is watery.
- Grated Parmesan cheese (1/4 cup for filling, 1/2 cup for sauce): Use the good stuff freshly grated off the block, it melts differently and tastes nothing like the shelf stable kind.
- Garlic, minced (1 clove): One clove is all you need to give the filling a subtle savory backbone without overpowering it.
- Fresh parsley, finely chopped (2 tbsp): Brightness and color in every bite, and dried simply will not do the same job here.
- Ground nutmeg (1/4 tsp): A tiny pinch that most people cannot quite identify but everyone notices when it is missing.
- Salt and pepper, to taste: Season the filling generously, because once it is sealed inside the pasta you cannot adjust it.
- Heavy cream (1 cup): The luxurious base of the sauce, and honestly there is no lighter substitute that delivers the same result.
- Unsalted butter (2 tbsp): Adds a silky richness to the sauce and helps it cling to every fold of pasta.
- Freshly ground black pepper, to taste: A generous crack at the end gives the cream sauce a gentle heat that balances the richness perfectly.
- Fresh parsley and extra Parmesan, to serve: The finishing touches that make a bowl of tortellini look like it came from a restaurant.
Instructions
- Build the Dough:
- Mound the flour on a clean surface, create a deep well in the center, and crack the eggs right in with the salt. Beat gently with a fork, slowly pulling in flour from the walls until a shaggy dough forms, then knead with the heel of your hand for seven or eight minutes until it feels silky and springs back slightly when pressed.
- Mix the Filling:
- Combine the chopped chicken, ricotta, Parmesan, garlic, parsley, nutmeg, and a generous pinch of salt and pepper in a bowl. Stir until everything is evenly distributed, then taste a tiny bit on your fingertip to check the seasoning before you commit to sealing it inside dozens of little pasta pockets.
- Roll and Shape:
- After the dough has rested for twenty minutes wrapped tightly in plastic, roll it out as thin as you can manage, roughly a sixteenth of an inch, and cut it into two inch squares. Place a scant teaspoon of filling in the center of each square, fold diagonally to form a triangle, press out any air, and bring the two bottom corners together around your finger to form the classic tortellini shape.
- Cook the Pasta:
- Drop the tortellini in batches into a large pot of generously salted boiling water, giving them a gentle stir so they do not stick to the bottom. They are ready when they float to the surface, usually three to four minutes, and you should lift them out with a slotted spoon straight into the sauce.
- Make the Cream Sauce:
- Melt the butter in a saucepan over medium heat, pour in the cream, and let it simmer for two or three minutes until it thickens just enough to coat the back of a spoon. Stir in the Parmesan until it dissolves into a glossy sauce and finish with a generous amount of freshly ground black pepper.
- Bring It All Together:
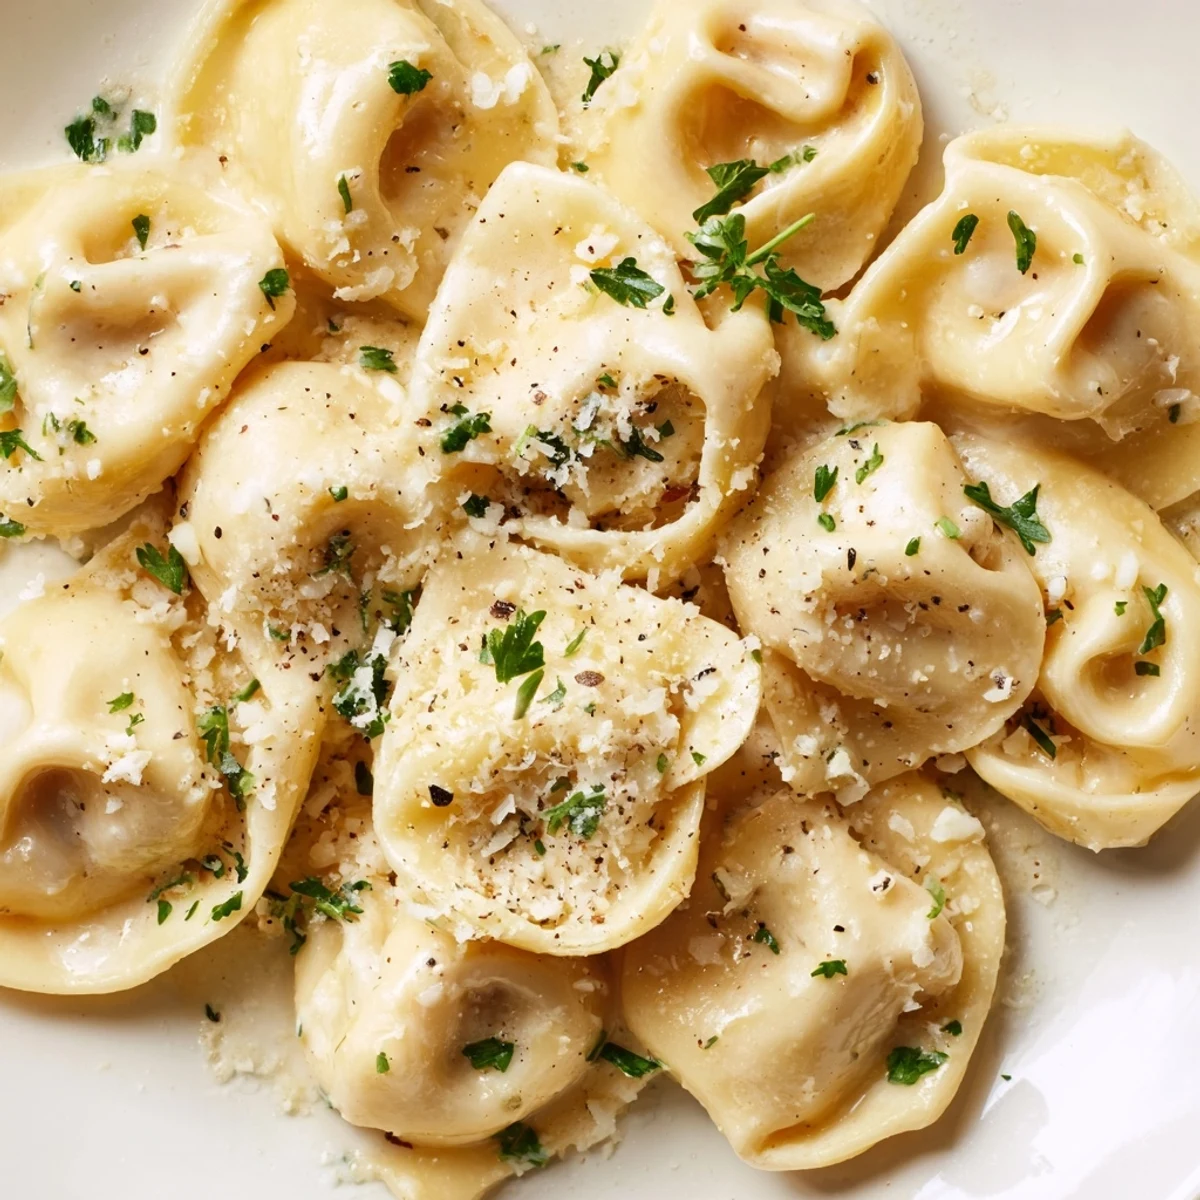
- Toss the warm tortellini gently in the sauce, coaxing it into every fold and crevice without being rough. Divide among bowls, shower with extra Parmesan and chopped parsley, and serve immediately while the sauce is still velvety and warm.
 Save
Save The first time I served these at a small dinner gathering, the room went quiet after the first bite, and that silence told me everything. Food does not always need a grand occasion to matter. Sometimes a pot of boiling water and a little cream sauce are enough to turn an ordinary Tuesday into something people remember.
What to Pour Alongside
A crisp Pinot Grigio cuts through the richness of the cream sauce beautifully, and I learned this pairing from a friend who always arrives with a chilled bottle when she knows pasta is on the menu. A light Chardonnay works too, especially one with a touch of citrus that plays nicely with the nutmeg in the filling. Skip anything heavy or oaky, because it will compete with the delicate flavors you just spent an hour building by hand.
Making It Your Own
Chopped spinach folded into the filling adds a pop of green and a mild earthiness that balances the richness of the cheese and cream. I have also swapped the chicken for leftover Thanksgiving turkey with surprisingly wonderful results during the holidays. The framework is forgiving, so let whatever you have in your refrigerator guide you once you are comfortable with the basic technique.
Tools That Make It Easier
You do not need a pasta machine for this, though it certainly saves your arms on the rolling step. A simple rolling pin, a knife or biscuit cutter, and a large pot will carry you through the entire process from start to finish. Keep a slotted spoon handy and a clean kitchen towel laid flat for resting the shaped tortellini before they go into the water.
- Dust the shaped tortellini with semolina flour if you need to hold them for more than a few minutes before cooking.
- Freeze any extras on a tray first, then transfer to a bag so they do not clump together.
- Remember that fresh pasta cooks much faster than dried, so watch the pot closely.
 Save
Save Once you have made tortellini by hand once, you will understand why Italian grandmothers treat pasta like a love language. It is messy, imperfect, and completely worth every minute.
Common Recipe Questions
- → Can I use store-bought tortellini instead of making the dough from scratch?
-
Absolutely. Fresh or frozen store-bought tortellini works well and cuts your total time significantly. Skip straight to cooking the tortellini and preparing the cream sauce. Just be sure to follow the package instructions for cooking times.
- → What type of chicken works best for the filling?
-
Rotisserie chicken is a convenient shortcut that adds great flavor. You can also use leftover grilled or baked chicken breast. The key is chopping it finely so the filling stays tender and easy to stuff inside the pasta.
- → How thin should I roll the pasta dough?
-
Aim for about 1/16-inch thickness. The dough should be thin enough to see the shadow of your hand through it, but not so thin that it tears when you add the filling. A pasta machine makes this step much easier and more consistent.
- → Can I make the tortellini ahead of time?
-
Yes. Assembled tortellini can be refrigerated on a floured sheet pan for up to 24 hours. For longer storage, freeze them in a single layer, then transfer to a freezer bag. Cook directly from frozen, adding about 2 minutes to the boiling time.
- → What wine pairs well with this dish?
-
A crisp Pinot Grigio or a light-bodied Chardonnay complements the creamy sauce beautifully. If you prefer red, a light Chianti or Pinot Noir won't overpower the delicate chicken filling.
- → How do I prevent the tortellini from sticking together?
-
Keep shaped tortellini on a surface dusted with semolina or all-purpose flour. Don't let them touch each other before cooking. When boiling, give the water a gentle stir and cook in batches to avoid crowding the pot.