 Save
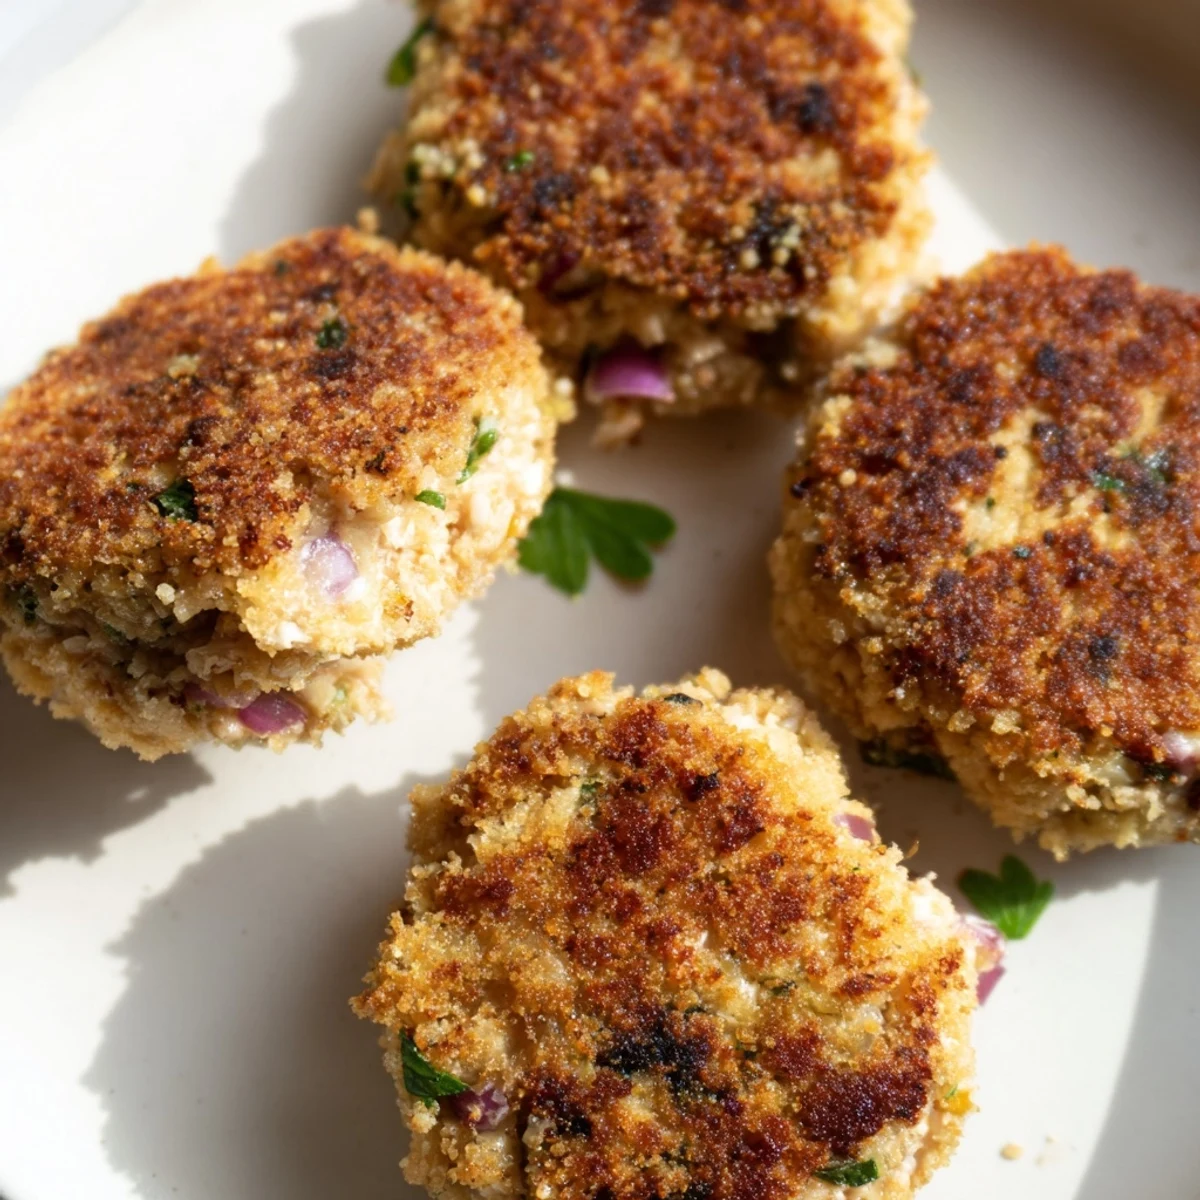
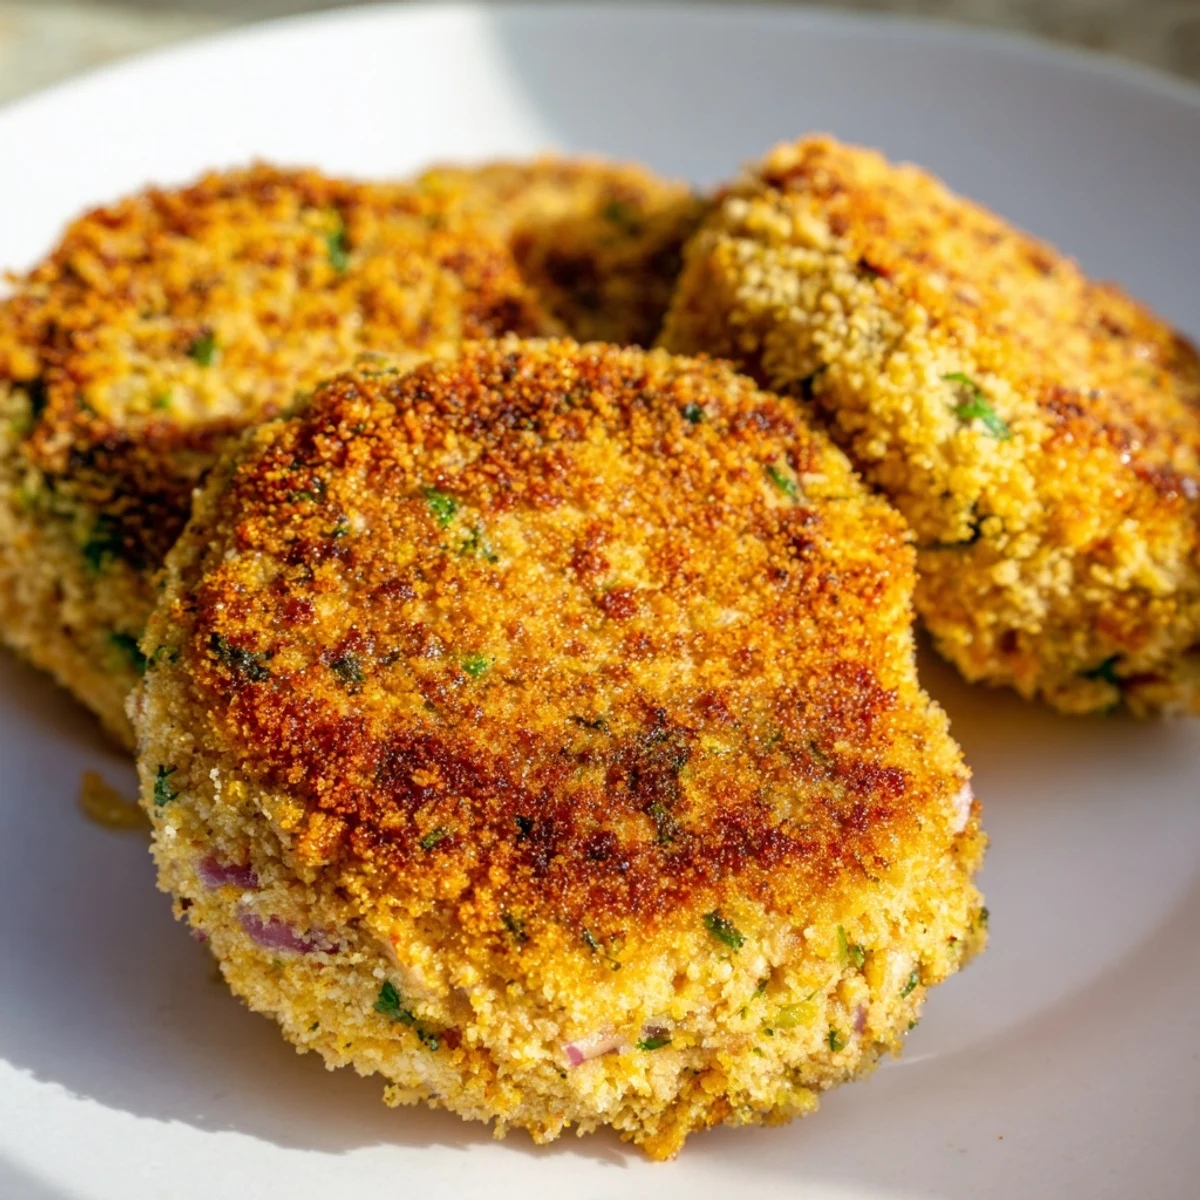
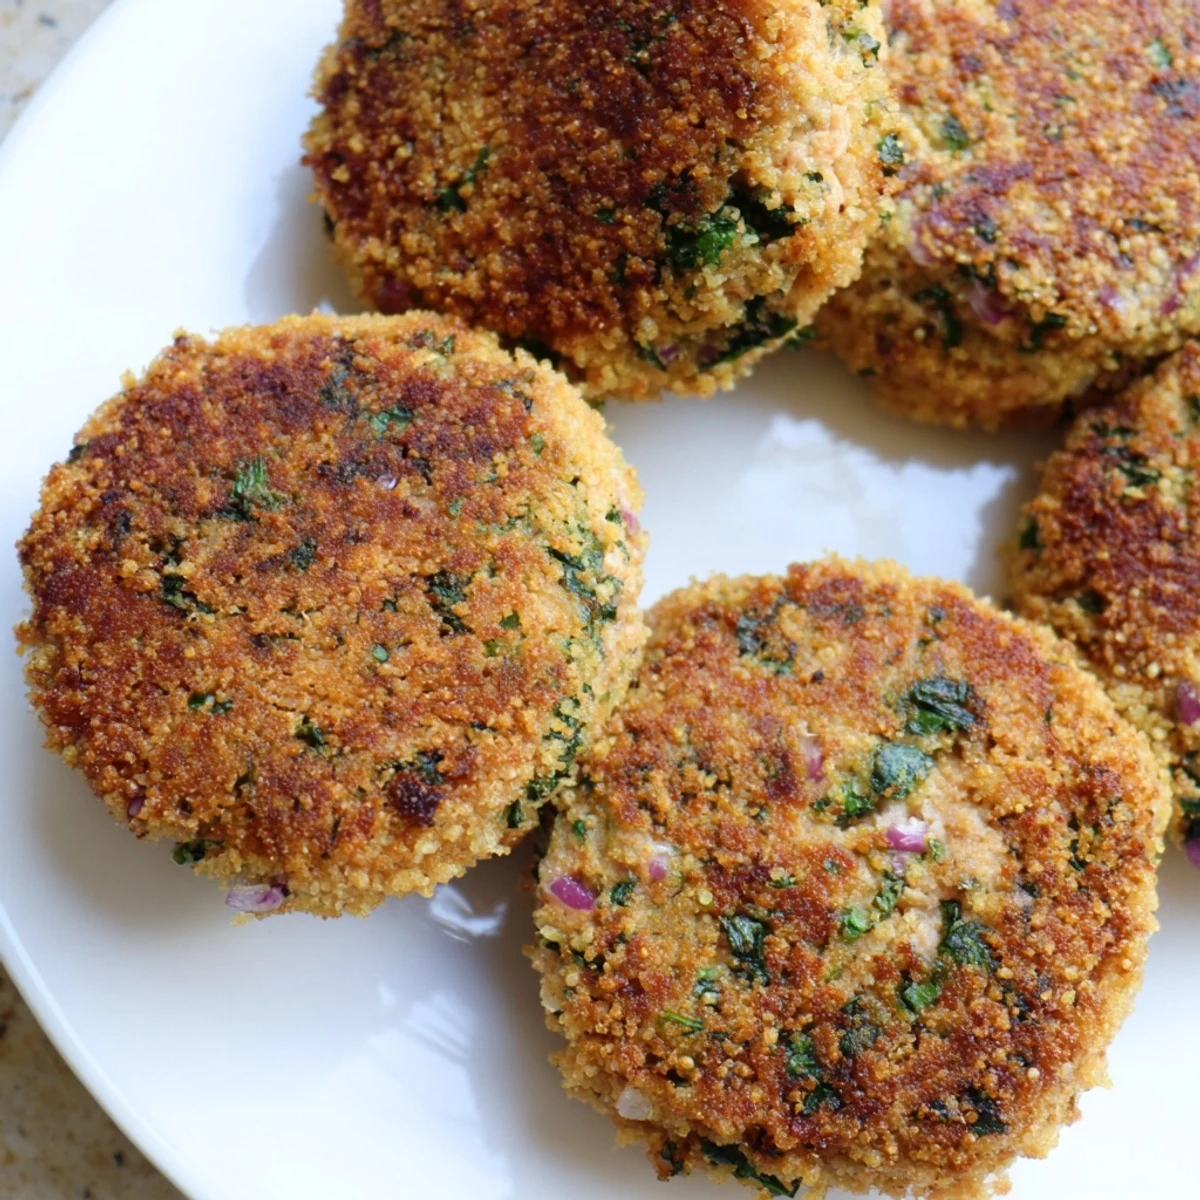
Save These golden tuna cakes feature a perfectly crispy exterior with a moist, flavorful interior. Made with canned tuna, fresh vegetables, and seasonings, they come together in just 25 minutes for an effortless meal.
The mixture combines drained tuna with crunchy celery, red onion, and fresh parsley for texture. Breadcrumbs and mayonnaise bind everything together while Dijon mustard adds tangy depth. Pan-frying creates that irresistible golden crust.
Shape into eight small patties and fry until crispy on both sides. Serve with lemon wedges, a light salad, or your favorite dipping sauce like tartar sauce or aioli.
Perfect for lunch, dinner, or meal prep. The recipe easily adapts to gluten-free needs with simple breadcrumb swaps, and you can adjust the heat level with cayenne or chili flakes.
The sun was streaming through my kitchen window last Tuesday when I realized I had nothing planned for lunch but three cans of tuna. Sometimes the best meals come from that quiet desperation of standing in front of the pantry, half hopeful and completely hungry. These crispy cakes came together in a flash, and honestly, they have become my go-to whenever I want something that feels like comfort food but doesn't take forever.
My sister was over that afternoon, skeptical about tuna for lunch until she smelled the first batch sizzling in the skillet. We stood at the counter eating them straight from the paper towels, burning our fingers slightly, not even bothering with plates. Now whenever she visits, she gives me this look that asks if the tuna cakes are happening again.
Ingredients
- Tuna: Two cans of tuna in water work best here, drained well so the cakes hold together properly
- Egg: One large egg binds everything together without making the mixture too wet
- Celery and red onion: Finely chopped, these add crunch and a bit of sharp freshness
- Fresh parsley: Two tablespoons brightens everything up and makes the flavors pop
- Lemon zest: One teaspoon lifts the whole dish and cuts through the richness
- Breadcrumbs: Half a cup of panko gives the best crunch, but regular works perfectly fine
- Mayonnaise: Two tablespoons adds moisture and helps the cakes stay tender inside
- Dijon mustard: One teaspoon gives a subtle depth that you will notice but cannot quite place
- Garlic powder, salt, and pepper: These simple seasonings make sure every bite is flavorful
- Olive oil: Two or three tablespoons for frying, enough to get that beautiful golden crust
Instructions
- Mix everything together:
- In a large bowl, combine the drained tuna, egg, celery, red onion, parsley, and lemon zest. Add the breadcrumbs, mayonnaise, Dijon mustard, garlic powder, salt, and pepper. Mix gently until everything is well combined but do not overwork it.
- Shape the patties:
- Divide the mixture into eight equal portions and shape each into a small patty, pressing gently so they hold together without being compacted.
- Get the skillet ready:
- Heat the olive oil in a large nonstick skillet over medium heat until it shimmers slightly.
- Fry until golden:
- Cook the tuna cakes in batches for three to four minutes per side, until they are deep golden brown and crispy.
- Drain and serve:
- Transfer to a paper towel-lined plate and serve warm with lemon wedges.
 Save
Save These have saved more weeknight dinners than I care to admit, and somehow they always feel like a treat rather than a backup plan. There is something so satisfying about turning simple ingredients into something that feels genuinely special.
Making Them Your Own
I have played around with this recipe so many times, and it is incredibly forgiving. Sometimes I add a pinch of cayenne or red pepper flakes when I want a little kick. Other times I swap in fresh dill for the parsley, especially in the summer when everything feels lighter and brighter.
What to Serve With Them
A simple arugula salad with a lemon vinaigrette cuts through the richness perfectly. Roasted green beans or sauteed zucchini work beautifully too. On really lazy nights, I just serve them with a wedge of lemon and call it dinner.
Storage and Make-Ahead Tips
The uncooked patties freeze wonderfully, so I often double the batch and stash half in the freezer for busy weeks. Just thaw them overnight in the refrigerator before cooking. Leftovers reheat surprisingly well in a toaster oven at 350 degrees for about ten minutes.
- Place cooked cakes on a wire rack when reheating so they stay crispy on all sides
- If the mixture feels too wet, add another tablespoon of breadcrumbs
- A squeeze of fresh lemon juice right before serving brightens everything
 Save
Save Hope these become a regular in your kitchen rotation too.
Common Recipe Questions
- → Can I use fresh tuna instead of canned?
-
Yes, you can use fresh cooked tuna. Grill or sear a tuna steak, let it cool, then flake it before combining with the other ingredients. You'll need about 10-12 ounces of cooked fresh tuna to replace the canned version.
- → How do I keep tuna cakes from falling apart?
-
Ensure the mixture is well-chilled before shaping—refrigerate for 15-20 minutes if needed. Don't skip the breadcrumbs and egg as they're essential binders. Handle patties gently and avoid overcrowding the pan while frying.
- → Can I bake these instead of frying?
-
Absolutely. Place shaped patties on a greased baking sheet and brush lightly with olive oil. Bake at 400°F for 12-15 minutes, flipping halfway through. The exterior will be less crispy than pan-frying but still delicious.
- → How long do tuna cakes last in the refrigerator?
-
Store cooled tuna cakes in an airtight container for up to 3 days. Reheat in a skillet over medium heat or in a 350°F oven for 5-7 minutes to restore crispiness. They're also delicious cold in salads or sandwiches.
- → What works well as a dipping sauce?
-
Tartar sauce, garlic aioli, or a simple Greek yogurt dip with lemon and dill are classic choices. For something lighter, try lemon wedges or a drizzle of sriracha mayonnaise. A remoulade sauce also pairs beautifully.
- → Can I freeze tuna cakes?
-
Yes, freeze uncooked patties on a baking sheet until firm, then transfer to a freezer bag for up to 3 months. Thaw overnight in the refrigerator before cooking, or cook from frozen adding a few extra minutes per side.