 Save
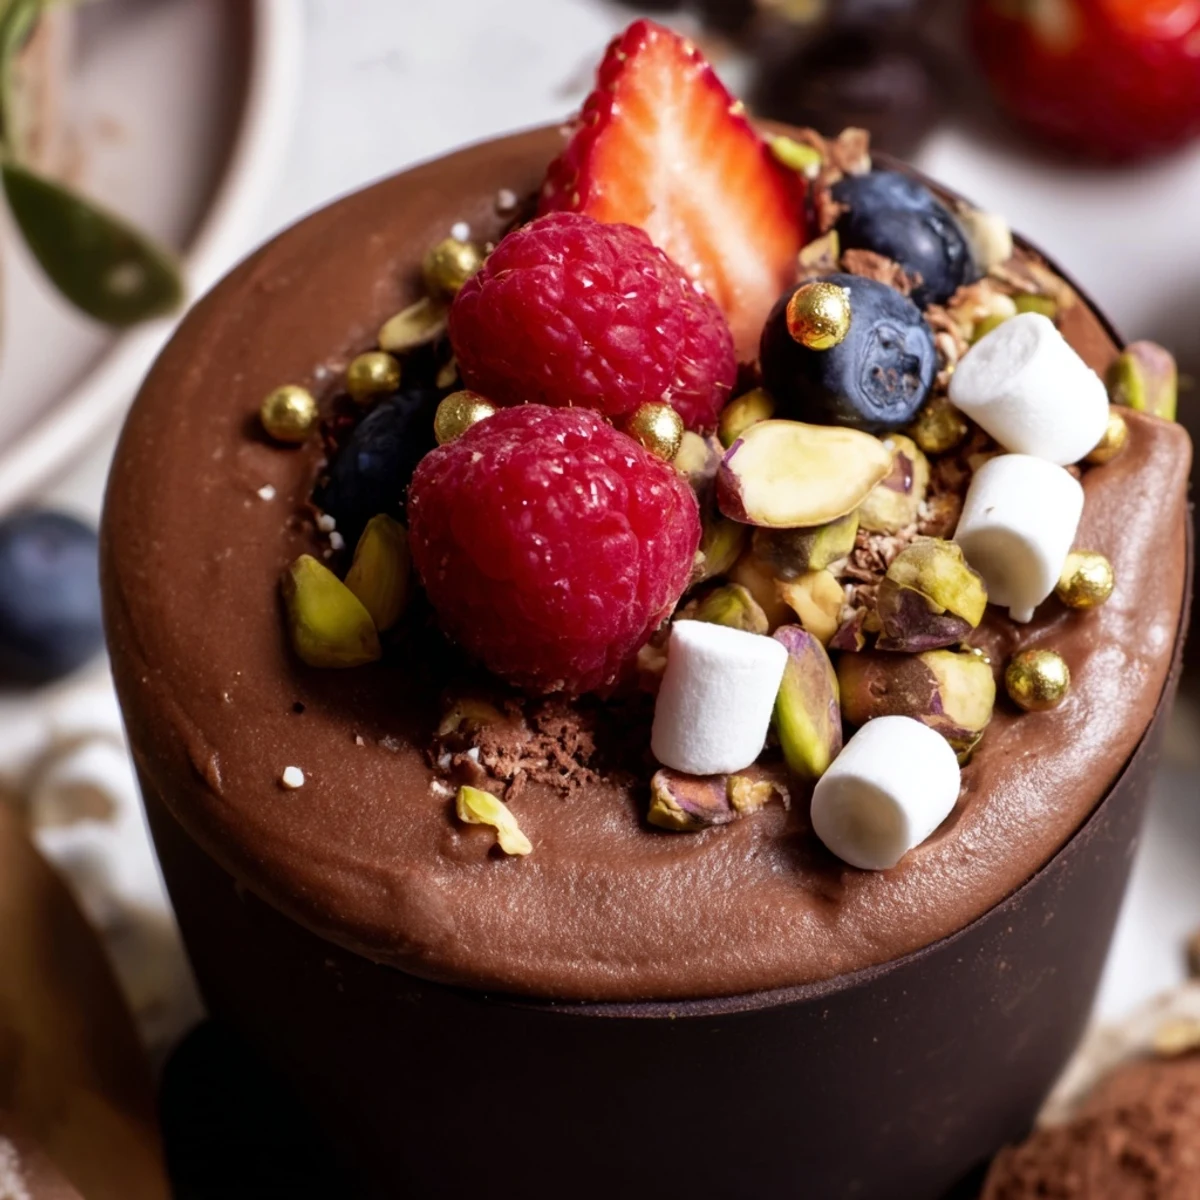
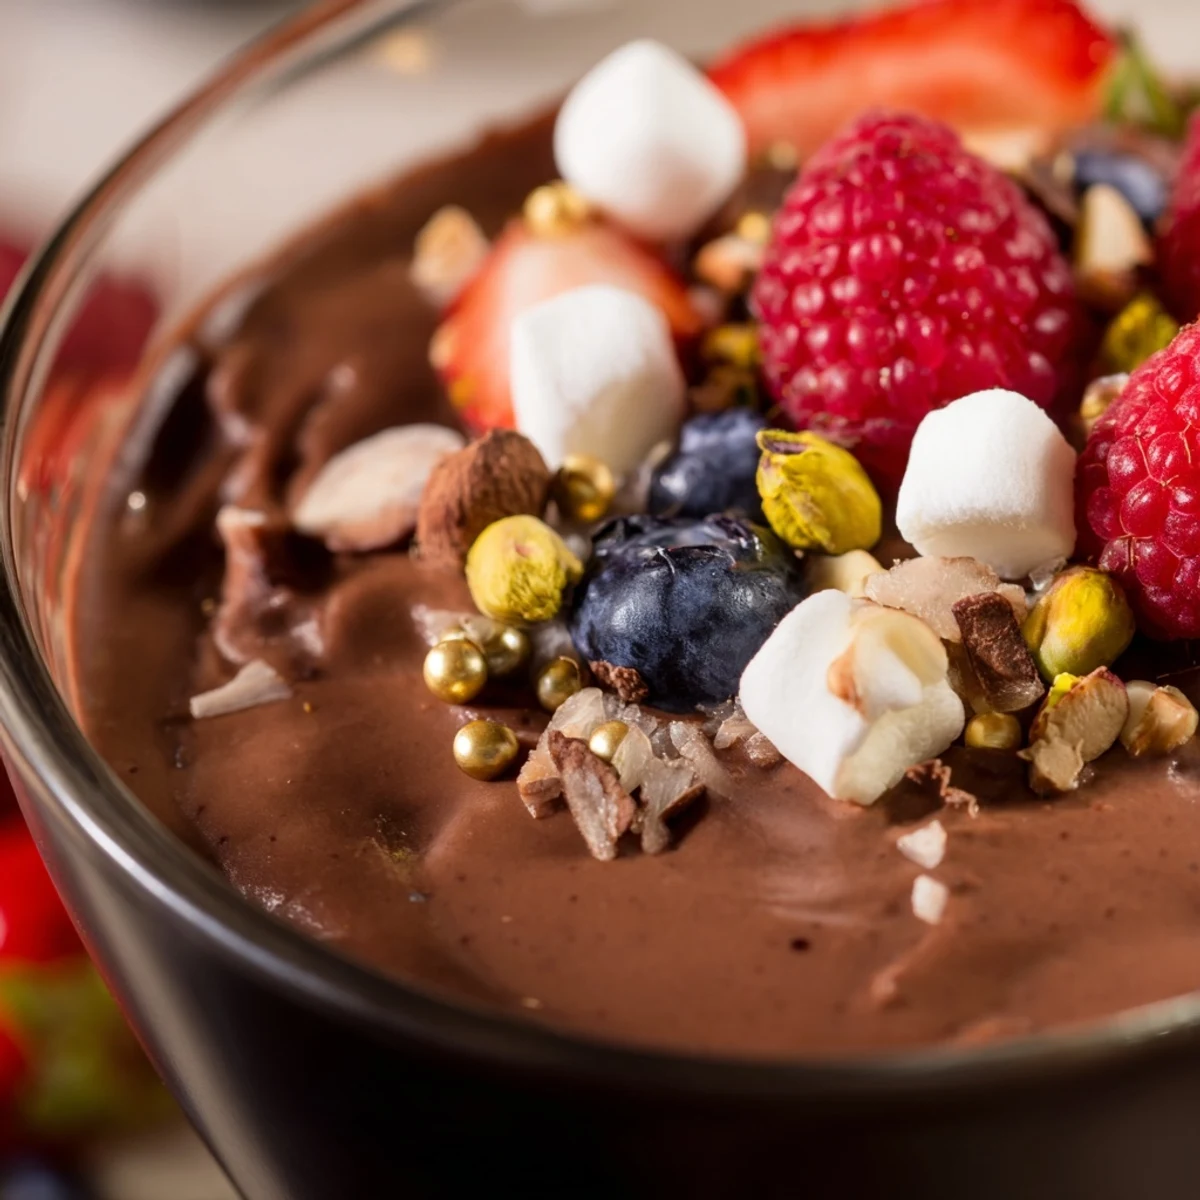
Save Create stunning dessert cups with edible chocolate shells holding velvety mousse and fresh toppings. These individual portions feature homemade chocolate cups, whipped chocolate mousse, and colorful garnishes like berries, nuts, and marshmallows. The 35-minute active prep includes melting chocolate, whipping cream, and creative assembly. Chill for 20 minutes before serving these impressive handheld desserts that elevate any gathering with their restaurant-quality presentation and indulgent flavors.
The first time I attempted chocolate cups, my kitchen looked like a crime scene by the end. Chocolate everywhere, fingerprints on the refrigerator handle, and three tragically collapsed attempts. But when I finally figured out the pastry brush technique and pulled those first perfect cups from the fridge, I felt like I'd unlocked some kind of dessert sorcery. Now I make them whenever I need to impress someone without actually spending hours in the kitchen.
Last summer I made these for my sister's engagement party and watched in delight as my normally stoic father lit up like a kid. He kept sneaking back to the dessert table, claiming he was just checking on the presentation. By the time I counted the empty cups, I realized he'd eaten three. That's when I knew these weren't just pretty desserts—they're the kind of treat that makes people abandon their composure completely.
Ingredients
- Dark chocolate (at least 60% cocoa): This is your foundation here, so dont skimp. I've learned through many batches that anything below 60% makes the cups too soft and they won't hold their shape properly.
- Heavy cream: Cold is absolutely non-negotiable. I once grabbed room temperature cream from the counter and ended up with sad, flat chocolate soup instead of mousse.
- Powdered sugar: This dissolves into the whipped cream without leaving that gritty texture you sometimes get with regular sugar.
- Vanilla extract: Just a teaspoon makes such a difference in rounding out the chocolate flavor. Use the real stuff imitation vanilla always tastes fake to me in something this simple.
- Fresh mixed berries: The acidity cuts through all that rich chocolate. I love how raspberries practically burst when you bite into them alongside the mousse.
- Chopped nuts: Hazelnuts are my absolute favorite here, but any nut will work for that essential crunch element.
- Mini marshmallows: These are mostly for the whimsy factor. Who can resist tiny marshmallows perched on chocolate
- Chocolate curls: Use a vegetable peeler on a room temperature chocolate bar. It's oddly satisfying and makes everything look professional.
- Edible gold leaf or pearls: Completely optional but makes these look genuinely luxurious. I save this for really special occasions.
Instructions
- Create the chocolate cups:
- Melt your 200g dark chocolate until completely smooth, then use a pastry brush to paint the inside of your liners. The brush technique is what took me from failed cups to perfect ones every single time.
- Set the chocolate shells:
- Pop those coated liners into the fridge for at least 20 minutes. Don't rush this part the chocolate needs to be completely firm before you even think about removing the liners.
- Whip the cream:
- In a bowl you've chilled in the freezer for 10 minutes, whip that heavy cream with powdered sugar and vanilla until you have soft peaks. Over whipping makes the mousse dense instead of airy.
- Make the mousse base:
- Melt your remaining chocolate and let it cool slightly this is crucial. Hot chocolate will instantly deflate your whipped cream and there's no coming back from that mistake.
- Combine chocolate and cream:
- Fold a spoonful of whipped cream into the melted chocolate first to lighten it, then gently fold that mixture into the remaining cream. Think cloud like movements here, not vigorous stirring.
- Fill your cups:
- Spoon or pipe that gorgeous mousse into your chocolate cups, stopping about two thirds from the top. You want room for all those beautiful toppings.
- Add the finishing touches:
- Pile on berries, nuts, marshmallows, and chocolate curls however you like. This is where you can make each cup unique and totally instagram worthy.
- Final chill:
- Give the assembled cups at least 20 minutes in the fridge. They're best served slightly cold but not rock hard.
 Save
Save There's something magical about setting out a platter of these cups and watching people's eyes widen. My friend Sarah actually asked if she could take hers home instead of eating it there because it was too pretty to destroy. That's the highest compliment I've ever received on a dessert.
Make Ahead Magic
You can prepare the chocolate cups up to three days in advance if stored in an airtight container. The mousse holds beautifully for 24 hours, which means you can assemble everything the morning of your party and still have them taste freshly made.
The Temperature Secret
Room temperature chocolate cups start to soften after about 30 minutes, so keep them chilled until just before serving. I've made the mistake of leaving them out during a long dinner party and ended up serving chocolate soup instead.
Serving Strategy
These cups work beautifully on a grazing dessert table alongside other finger desserts. Set out small plates and forks, though I've seen plenty of guests just pick them up and eat them like cupcakes. Either way works perfectly.
- Place a small doily or decorative paper under each cup for extra elegance
- Label any nut toppings clearly for guests with allergies
- Have extra berries nearby for guests who want to add more fresh fruit
 Save
Save Every time I serve these, someone asks for the recipe, and I love watching their reaction when I explain how simple they really are. That's the best kind of recipe deceptively easy but absolutely stunning.
Common Recipe Questions
- → How far in advance can I make chocolate grazing cups?
-
Best prepared the same day for optimal texture. The chocolate cups may soften over time, and fresh toppings stay most appealing when freshly assembled. You can prepare components separately up to 24 hours ahead—store chocolate cups at room temperature in an airtight container, keep mousse refrigerated, and wash berries just before assembly.
- → Can I use milk or white chocolate instead of dark chocolate?
-
Absolutely. Milk or white chocolate works beautifully for both cups and mousse. Keep in mind that white chocolate has a higher cocoa butter content, making cups slightly softer. Milk chocolate creates sweeter, creamier results while white chocolate offers a delicate vanilla flavor. Adjust sugar in the mousse accordingly when using sweeter chocolate varieties.
- → What other toppings work well in these grazing cups?
-
Endless possibilities exist beyond the suggested toppings. Try crushed cookies, pretzels for salt contrast, shredded coconut, candied citrus peel, edible flowers, or fresh mint leaves. For seasonal variations, use figs and pears in autumn, tropical fruits in summer, or peppermint candies during winter holidays.
- → How do I prevent chocolate cups from cracking when removing liners?
-
Ensure chocolate is properly tempered and completely set before attempting removal. Chill for the full recommended time or longer. Gently peel liners starting from the top edge, working slowly around the cup. If using silicone molds, flex them slightly to release. Working in a cool room helps prevent chocolate from softening during handling.
- → Can I make these without a microwave or double boiler?
-
You can melt chocolate using other gentle heat methods. Place chocolate in a heatproof bowl over a pot of simmering water, ensuring the bowl doesn't touch the water. Stir constantly until melted. Alternatively, use a low-temperature oven at 200°F, checking and stirring every few minutes. The key is low, slow heat to prevent seizing or burning.