 Save
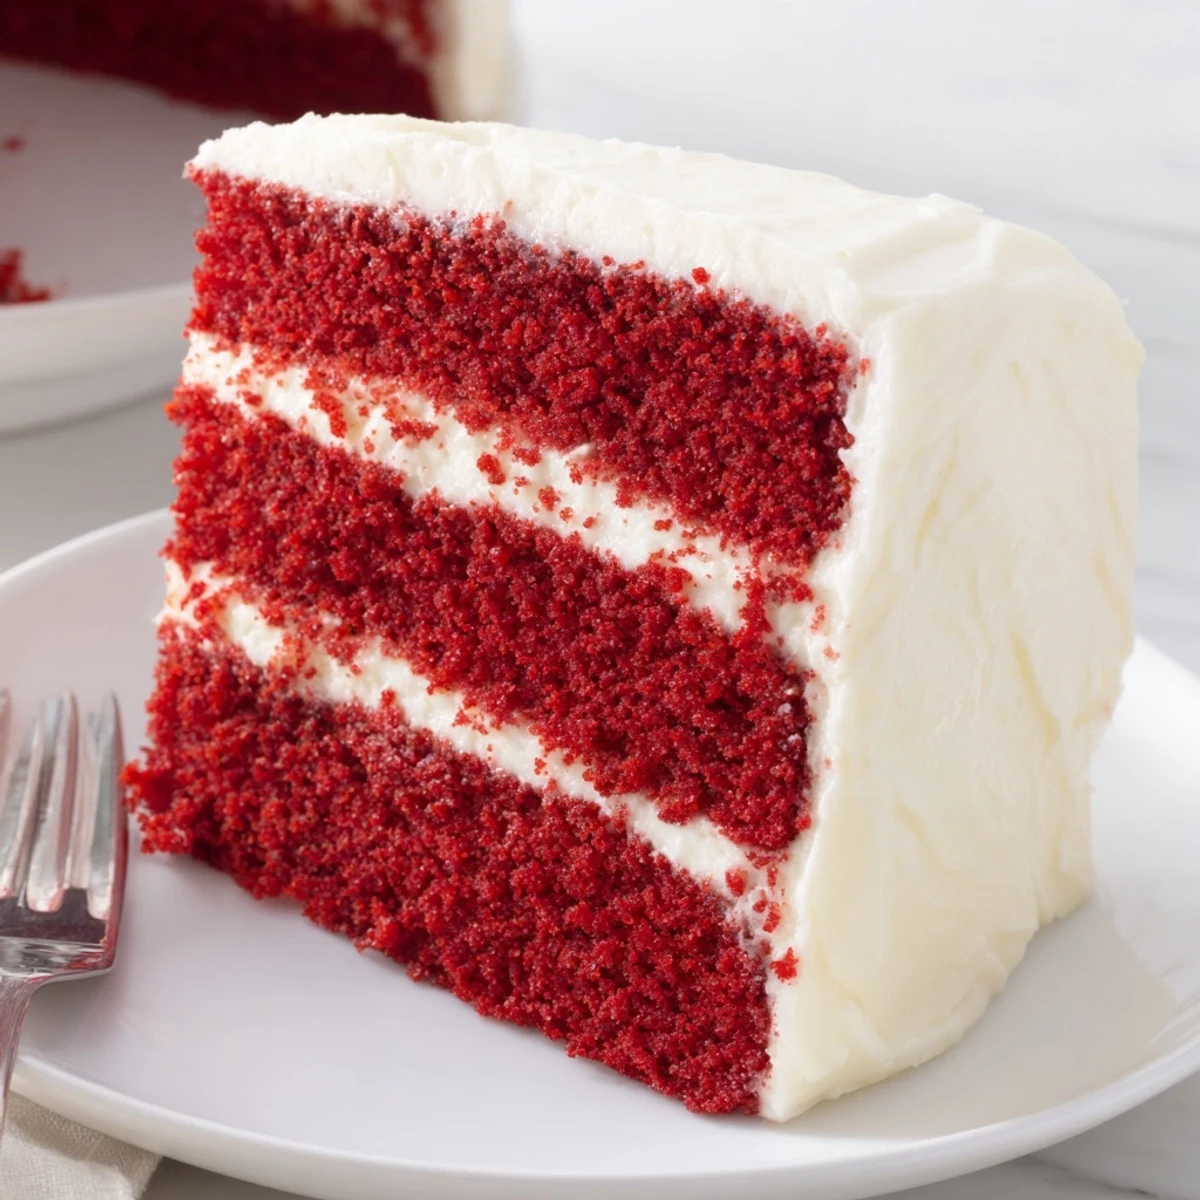
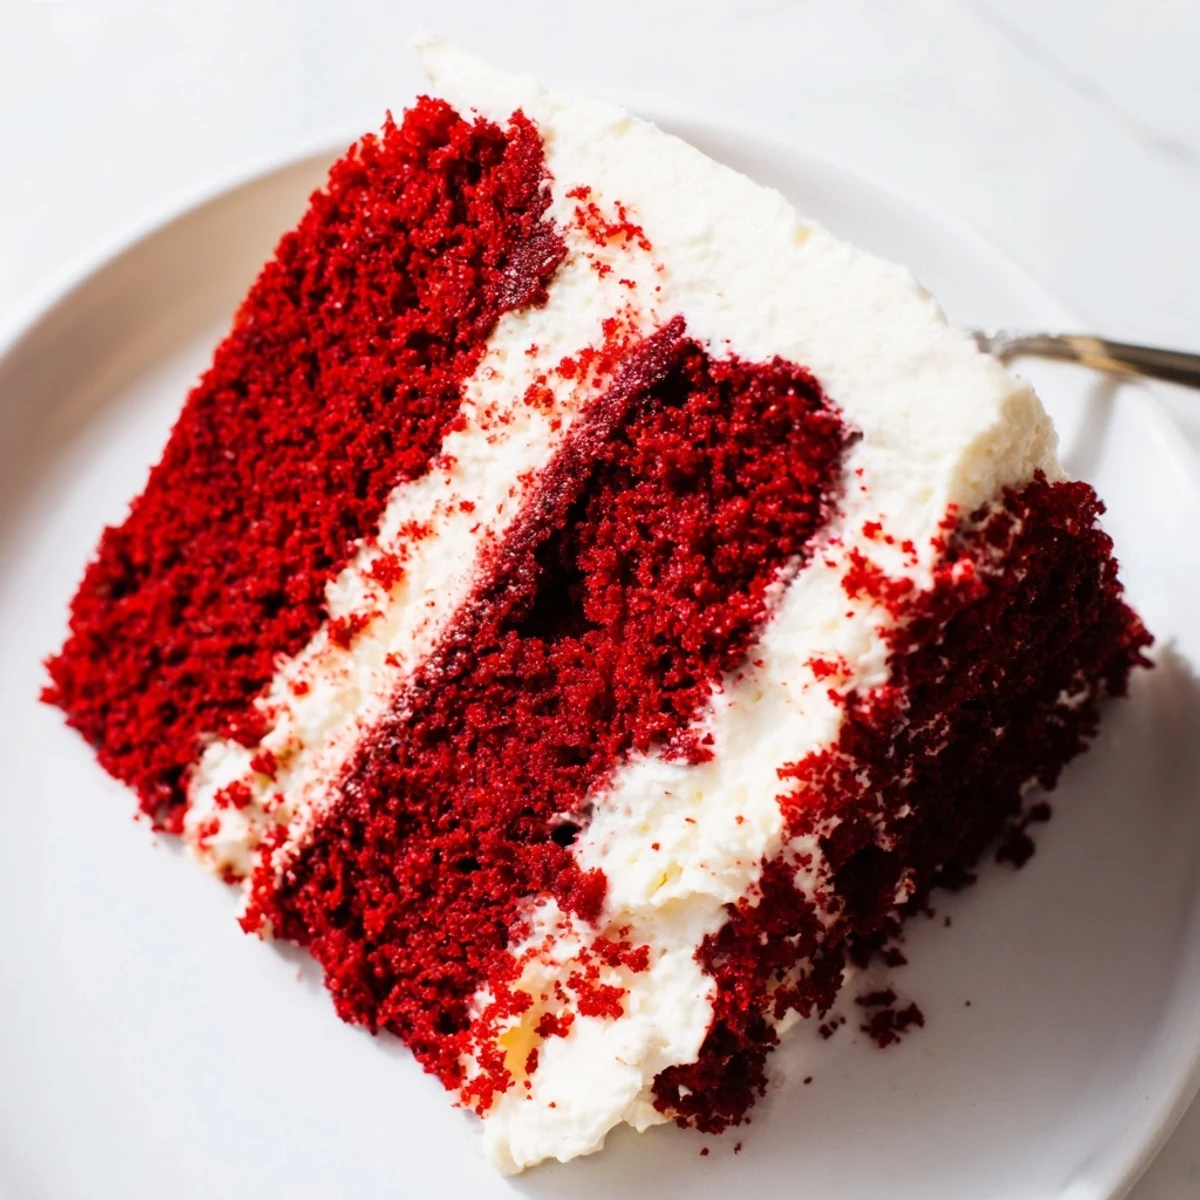
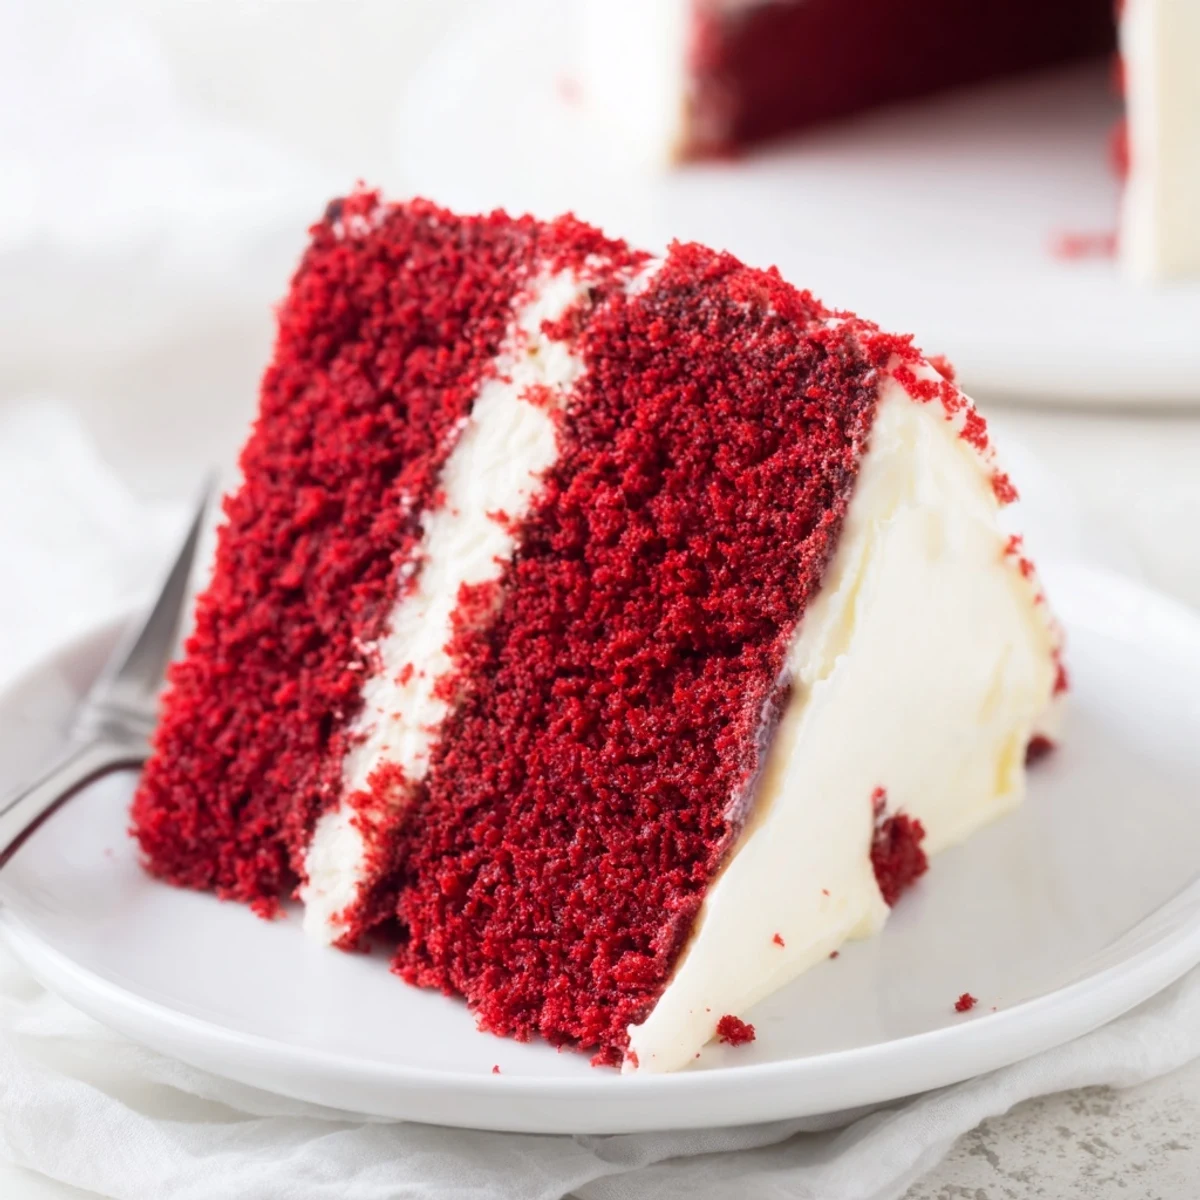
Save This classic red velvet cake delivers a perfect balance of subtle cocoa and tangy cream cheese frosting. The buttermilk and vegetable oil create an incredibly moist crumb that stays fresh for days. Each slice offers 490 calories of pure indulgence.
The signature red color comes from food coloring, while white vinegar reacts with baking soda for extra tenderness. The two-layer design feeds 12 people generously, making it ideal for birthdays and holidays.
Prep takes just 25 minutes, with 30 minutes in the oven. Let the layers cool completely before frosting—chilling for 30 minutes ensures clean, professional slices every time.
The first time I attempted red velvet cake, I accidentally used double the food coloring and ended up with something that looked like a crime scene. My kitchen counter was stained pink for weeks, but that vibrant slice taught me that sometimes the messiest experiments become the most requested recipes. Now whenever birthdays roll around, my nieces beg for the cake that turns tongues pink.
I made this cake for my friend Sarahs birthday last February. She had mentioned her grandmother used to bake red velvet but never wrote down the recipe. When she took her first bite, tears actually welled up in her eyes. Sometimes the best recipes are the ones that connect us to memories we thought we had lost.
Ingredients
- 2 1/2 cups all-purpose flour: The structure of your cake depends on this, so spoon and level instead of scooping directly
- 1 1/2 cups granulated sugar: This amount sweetens without overpowering the subtle cocoa undertones
- 1 teaspoon baking soda: Unlike baking powder, this gives the cake its characteristic velvety texture
- 1 teaspoon fine salt: Salt actually enhances the chocolate flavor despite what you might expect
- 1 tablespoon unsweetened cocoa powder: Just enough for depth without making it a chocolate cake
- 1 1/2 cups vegetable oil: Oil keeps the cake moist much longer than butter would
- 1 cup buttermilk: Room temperature buttermilk activates the baking soda for proper rise
- 2 large eggs: Also at room temperature to emulsify properly with the oil
- 2 tablespoons red food coloring: Gel coloring gives a deeper red with less liquid
- 1 teaspoon vanilla extract: Pure vanilla makes a noticeable difference here
- 1 teaspoon white vinegar: This unexpected ingredient reacts with buttermilk for extra tenderness
- 8 oz cream cheese: Fully softened cream cheese prevents lumpy frosting
- 1/2 cup unsalted butter: Room temperature butter blends seamlessly into the frosting
- 4 cups powdered sugar: Sifted sugar keeps frosting smooth and airy
Instructions
- Preheat your oven and prepare the pans:
- Set your oven to 350°F and generously grease two 9-inch round pans with butter, then dust with flour, tapping out any excess
- Combine the dry ingredients:
- Sift flour, sugar, baking soda, salt, and cocoa powder into a medium bowl to break up any lumps
- Whisk the wet mixture:
- In a large bowl, whisk oil, buttermilk, eggs, food coloring, vanilla, and vinegar until completely smooth
- Mix the batter:
- Gradually fold the dry ingredients into the wet mixture, stirring just until no flour streaks remain
- Bake the layers:
- Divide batter evenly between pans and bake for 28 to 30 minutes until a toothpick comes out clean
- Cool completely:
- Let cakes rest in pans for 10 minutes, then turn onto a wire rack until completely cool to the touch
- Make the frosting:
- Beat softened cream cheese and butter until silky, then gradually add sifted powdered sugar, vanilla, and pinch of salt until fluffy
- Assemble the cake:
- Place one layer on your plate, frost the top, add the second layer, then frost the top and sides generously
- Chill before serving:
- Refrigerate for 30 minutes to set the frosting, which gives you those clean restaurant style slices
 Save
Save My daughter insisted on helping me frost this cake last summer. She ended up with more frosting on her face than on the cake, but that imperfectly frosted layer was the happiest one we have ever shared. Sometimes the best desserts come with a side of laughter.
Making It Ahead
You can bake the layers up to two days in advance if wrapped tightly in plastic. The frosting actually benefits from sitting overnight in the refrigerator as the flavors deepen. Just bring everything to room temperature before assembling for the smoothest application.
Getting That Perfect Red
Gel food coloring produces that iconic deep crimson color without adding extra liquid to your batter. Liquid coloring can alter the cake texture, while gel colors are concentrated and potent. Start with one tablespoon and add more until you reach your desired shade.
Serving Suggestions
This cake pairs beautifully with a cup of strong coffee or a glass of cold milk. For special occasions, consider decorating the top with fresh raspberries or a dusting of cocoa powder. The contrast of white cream cheese frosting against that deep red crumb is striking enough on its own, but a few thoughtful touches make it unforgettable.
- Slice with a sharp knife dipped in hot water for perfect portions
- Let the cake sit at room temperature for 20 minutes before serving
- Store any leftovers in the refrigerator for up to five days
 Save
Save Whether it is a birthday, holiday, or just a Tuesday that needs brightening, this red velvet cake turns ordinary moments into something worth celebrating. Hope it brings as much joy to your table as it has to mine.
Common Recipe Questions
- → What makes red velvet different from chocolate cake?
-
Red velvet uses much less cocoa powder than traditional chocolate cake, creating a subtle chocolate flavor. The buttermilk and vinegar combination produces a tender, velvety texture distinct from other cakes. The reaction between baking soda and vinegar also contributes to the unique crumb structure.
- → Can I make red velvet cake without food coloring?
-
You can omit the red food coloring, though the cake will have a brownish appearance similar to a chocolate cake. Natural alternatives include beet juice or pomegranate juice, though these may slightly alter the flavor profile and produce a more muted red hue.
- → How do I store red velvet cake properly?
-
Store frosted red velvet cake in an airtight container in the refrigerator for up to 5 days. The cream cheese frosting requires refrigeration. Bring slices to room temperature for 20 minutes before serving for the best texture and flavor. Unfrosted layers can be frozen for up to 3 months.
- → Why does my red velvet cake sink in the middle?
-
Sinking usually results from underbaking or opening the oven door too early. Ensure the toothpick comes out completely clean before removing. Overmixing the batter can also cause sinking—mix just until combined. Also verify your baking soda is fresh, as expired leavening agents lead to poor rise.
- → Can I substitute buttermilk in red velvet cake?
-
Yes, make a homemade buttermilk substitute by adding 1 tablespoon of lemon juice or white vinegar to 1 cup of regular milk. Let it sit for 5-10 minutes until thickened and curdled. This alternative provides the necessary acidity and tang for the classic red velvet flavor profile.