 Save
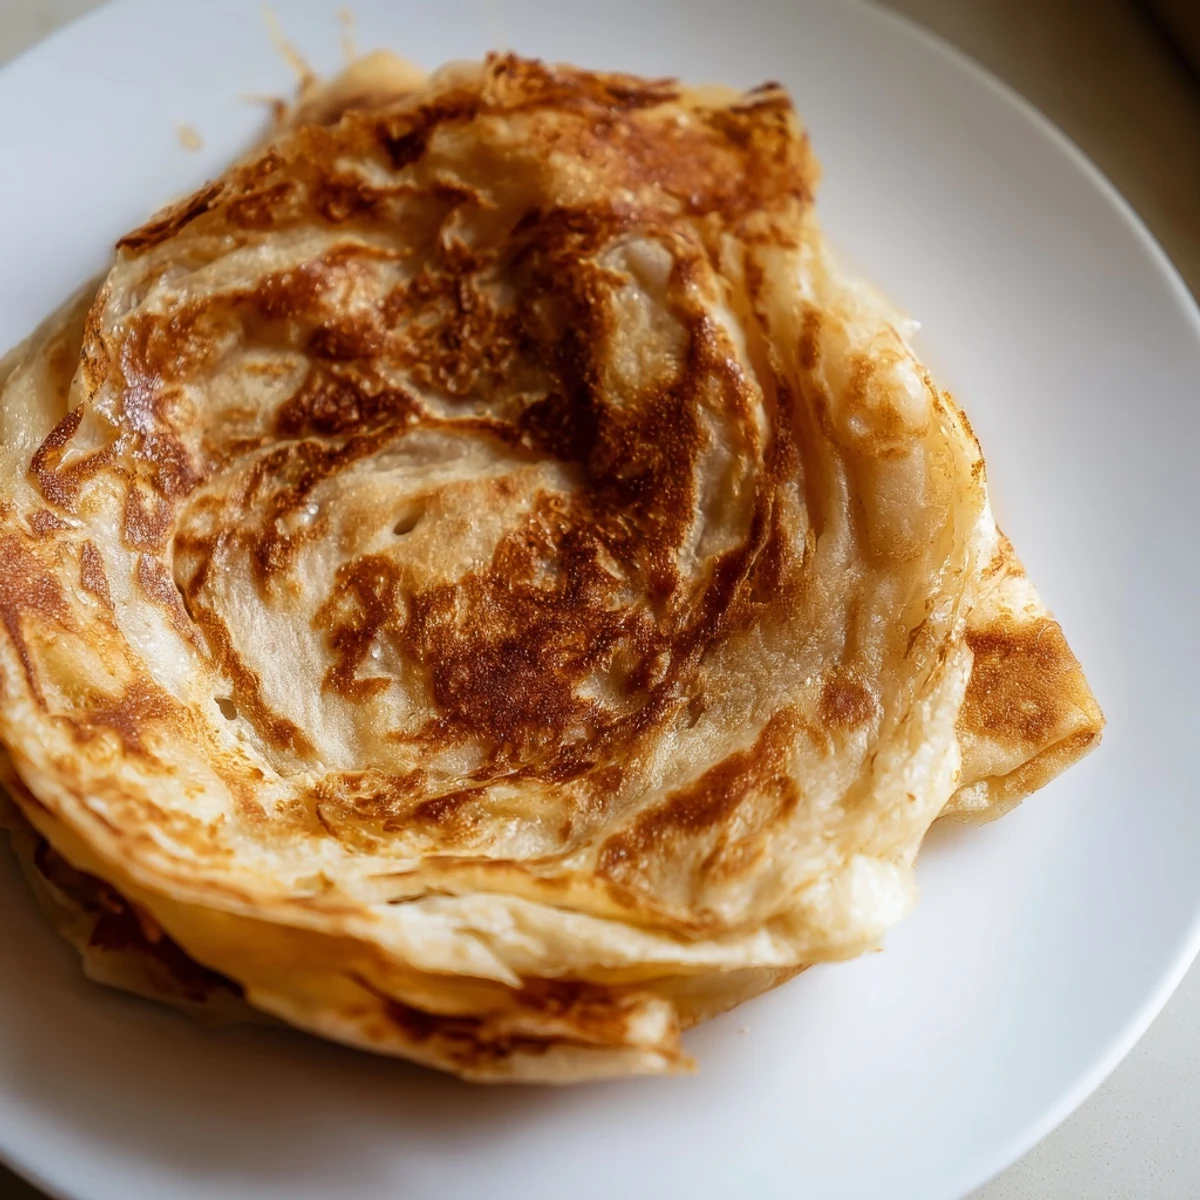
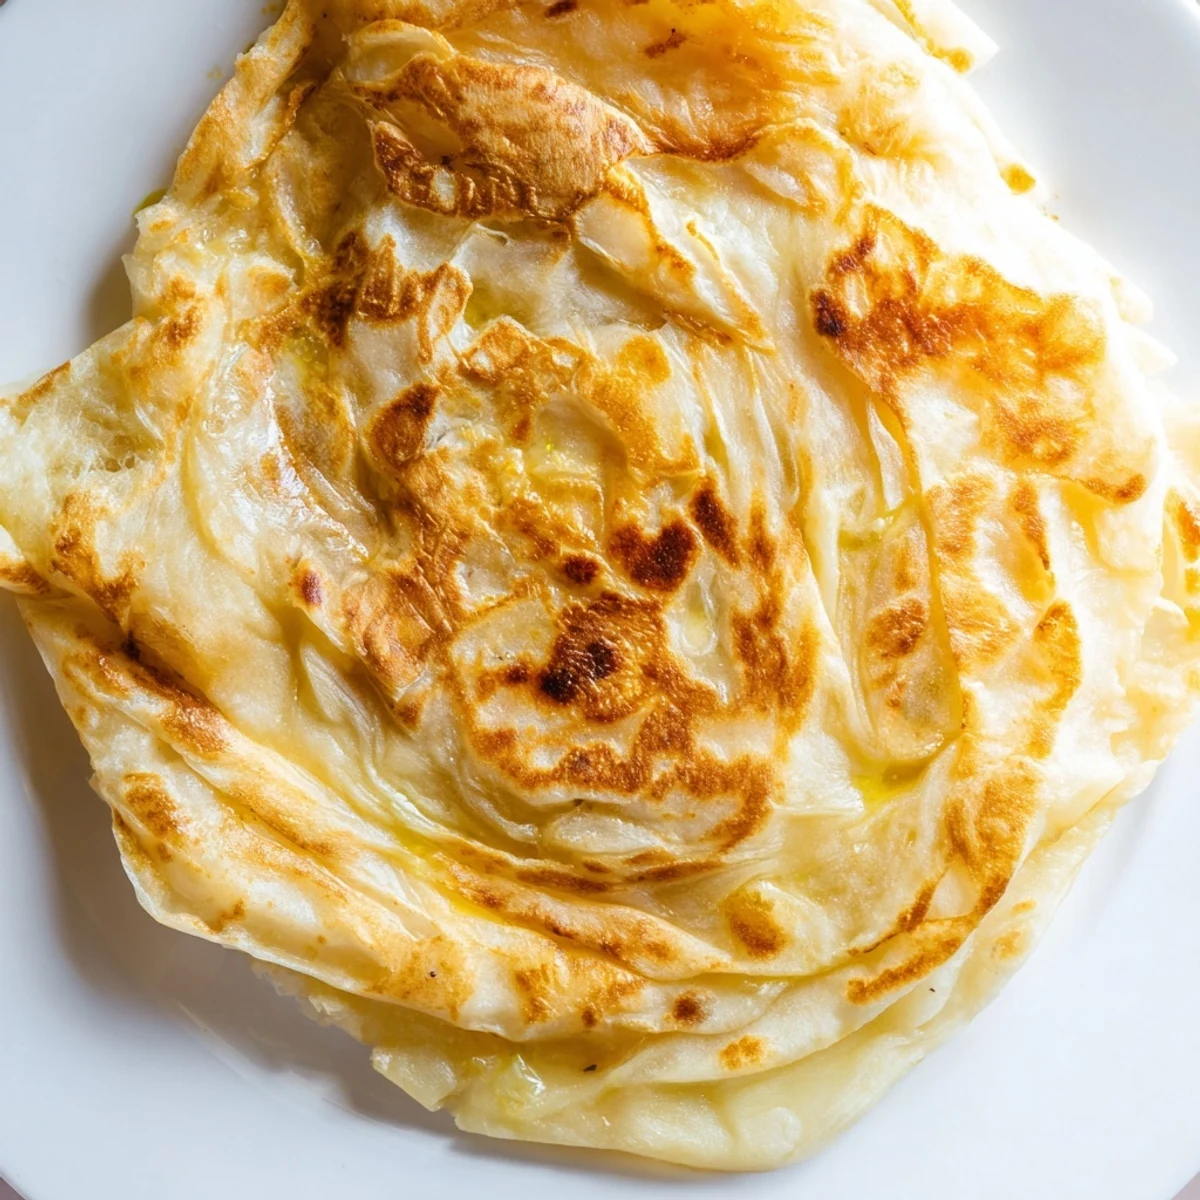
Save Create authentic Malaysian flaky roti canai featuring incredibly crispy golden layers with a tender, chewy interior. This beloved flatbread achieves signature flakiness through proper resting, gentle stretching techniques, and folding methods that create distinct buttery layers. Perfect alongside rich curries or enjoyed simply with sweet condiments.
The morning I watched my Malaysian neighbor flatten and flip roti canai on her balcony changed everything I thought about bread making. Her hands moved like she was conducting music, stretching that dough impossibly thin until it became practically transparent. Now my kitchen always smells like ghee and flour whenever I need to feel connected to something bigger than my own cooking struggles.
My first attempt ended up as a shaggy, torn mess that I tried to salvage by frying it anyway. My partner ate it without complaint, but I knew something was missing. The third time, when I finally got the resting time right and the dough practically stretched itself, I served it alongside a simple curry for dinner. We sat at the table pulling apart layers, dipping pieces into sauce, and not talking for ten minutes because we were too busy eating.
Ingredients
- 3 cups all purpose flour: The foundation of your dough, providing structure and the base for those signature flaky layers
- 1 teaspoon salt: Essential for flavor balance and strengthening the gluten network
- 1 tablespoon sugar: Helps with browning and adds a subtle sweetness that complements savory dishes
- 3 tablespoons condensed milk: The secret ingredient that creates tenderness and a golden color during cooking
- 2 tablespoons melted ghee: Infuses the dough with rich, nutty flavor from within
- 1 cup warm water: Brings everything together into a workable dough
- 4 tablespoons ghee or oil: For coating the dough balls and cooking each roti to golden perfection
Instructions
- Mix the foundation:
- Combine flour, salt, and sugar in a large bowl, then add melted ghee and condensed milk before gradually pouring in warm water
- Work the dough:
- Knead for 8 to 10 minutes until smooth and elastic, letting the gluten develop properly
- Prepare for resting:
- Divide into 6 equal balls, coat each with ghee or oil, and place on a greased tray covered with plastic wrap
- Let it rest:
- Leave at room temperature for at least 2 hours, allowing the dough to relax completely
- Stretch thin:
- Grease your work surface and hands, then flatten one ball and gently pull into a nearly translucent 18 inch sheet
- Create layers:
- Fold sides inward into a rectangle, roll like a Swiss roll, then coil into a spiral and tuck the end
- Heat the pan:
- Warm a non stick skillet or griddle over medium heat and brush lightly with ghee
- Flatten and cook:
- Press one spiral into a 6 to 7 inch round and cook for 2 to 3 minutes per side until golden
- Fluff and serve:
- Gently clap between your hands to separate layers and serve immediately
 Save
Save Last month I made these for a small dinner party and watched my normally quiet friend literally gasp when she tore into her first piece. She asked if I had apprenticed at a Malaysian restaurant, which made me laugh thinking back to my torn mess attempts. This bread has a way of making people feel like they are eating something extraordinary.
The Stretching Technique
Some restaurants toss the dough in the air like pizza makers, but working on a greased surface with oiled hands gives you more control as a home cook. The goal is thin enough to read through, but do not obsess over tears. Small imperfections disappear during folding and cooking anyway, so focus on keeping the dough relaxed and moving confidently rather than fearfully.
Oil vs Ghee
Vegetable oil works perfectly fine and creates a lighter version, but ghee adds an incomparable depth of flavor. I keep both on hand because some days call for the simplicity of oil, while others deserve the luxury of that browned butter taste. The condensed milk already provides some richness, so oil alone still yields satisfying results.
Serving Suggestions
These are incredible alongside any curry, dhal, or even just on their own with a cup of hot tea. I have also eaten them for breakfast with a sprinkle of sugar, which sounds strange until you try it. The versatility is part of what makes this recipe worth mastering.
- Make a double batch and freeze the cooked roti between parchment paper for quick reheating
- Keep your cooked rotis warm in a clean kitchen towel while you finish the batch
- Reheat leftovers in a dry pan for 30 seconds per side to restore crispiness
 Save
Save There is something meditative about the rhythm of mixing, resting, stretching, and folding that grounds me no matter how chaotic the day has been. I hope you find that same peace in the process.
Common Recipe Questions
- → What makes roti canai flaky?
-
The flaky texture comes from resting the dough for at least 2 hours, which relaxes gluten for easy stretching. The folding technique creates multiple layers, while ghee between these layers separates during cooking to produce signature crispiness.
- → Why does the dough need to rest?
-
Resting allows gluten strands to relax, making the dough pliable and stretchy. Without adequate resting time, the dough will resist stretching and tear instead of forming thin, translucent sheets necessary for proper layer formation.
- → Can I use butter instead of ghee?
-
Yes, unsalted butter works perfectly as a substitute. However, ghee provides more intense flavor and higher smoke point. Butter creates slightly softer layers while ghee yields crispier results.
- → How do I prevent the dough from tearing?
-
Ensure hands and work surface are well-greased. Work gently without rushing, letting the dough's weight help stretch it naturally. If dough resists, let it rest a few minutes before continuing.
- → What should I serve with roti canai?
-
Traditional pairings include dhal curry, chicken curry, or fish curry. For sweet versions, serve with sugar or condensed milk. The neutral flavor complements both savory and sweet accompaniments beautifully.
- → Can I freeze roti canai?
-
Yes, freeze cooked flatbreads between parchment paper in freezer bags for up to 2 months. Reheat on a skillet over medium heat to restore crispiness. Alternatively, freeze shaped uncooked portions and cook fresh.