 Save
Save Craft irresistibly soft marshmallows using granulated sugar, corn syrup, and unflavored gelatin. The process involves blooming gelatin, heating sugar syrup to precisely 240°F, then whipping everything together until tripled in volume. After setting for four hours or overnight, you'll have pillowy squares that melt beautifully in hot drinks or toast perfectly over campfires.
The vanilla-forward base adapts easily to peppermint, almond, or fruit extracts. A simple dusting of confectioners' sugar and cornstarch prevents sticking while adding a delicate sweet finish. These homemade confections far exceed store-bought versions in texture and flavor.
My kitchen counter looked like a winter wonderland after my first attempt at homemade marshmallows. I'd never imagined something so ethereal could come from sugar and gelatin. The way they tripled in volume while whipping felt like kitchen magic I couldn't wait to share with everyone who'd ever settled for store-bought versions.
Last December I made a double batch for a holiday party and watched adults literally light up when they took their first bite. My friend Sarah stood by the platter insisting she couldn't stop eating them like popcorn. That's when I realized homemade marshmallows arent just a recipe theyre a conversation starter and a memory maker.
Ingredients
- Granulated sugar: The foundation of your syrup it creates that perfectly sweet base we're building upon
- Light corn syrup: Prevents crystallization and keeps the marshmallows tender and chewy
- Unflavored gelatin: The secret structure that transforms liquid sugar into clouds of fluff
- Water: Both cold for blooming gelatin and heated for the sugar syrup
- Salt: Just a pinch enhances the vanilla and balances the sweetness
- Pure vanilla extract: Use the real thing here it makes all the difference in the final flavor
- Confectioners' sugar and cornstarch: This coating keeps the marshmallows from sticking together and adds that classic dusted finish
Instructions
- Prep your workspace:
- Line a 9x9-inch pan with parchment letting it hang over the sides for easy removal. Mix half the confectioners' sugar with cornstarch and generously dust the pan. Trust me you'll thank yourself later when these slip right out.
- Bloom the gelatin:
- In your stand mixer bowl combine gelatin with cold water and let it sit for at least 10 minutes. It'll absorb the liquid and turn into a firm mass which is exactly what we want.
- Cook the sugar syrup:
- In a saucepan combine granulated sugar corn syrup water and salt. Heat until sugar dissolves then bring to a boil without stirring. Use your candy thermometer and cook until it hits 240°F.
- Combine and whip:
- With mixer on low carefully pour the hot syrup into the gelatin. Gradually increase speed to high and whip for 8–10 minutes until the mixture is white thick and tripled in volume. This is where the magic happens.
- Add flavor and set:
- Pour in vanilla and mix for 30 more seconds. Quickly pour into your prepared pan smooth the top with a damp spatula and dust with the remaining sugar mixture. Let it sit uncovered for at least 4 hours.
- Cut and coat:
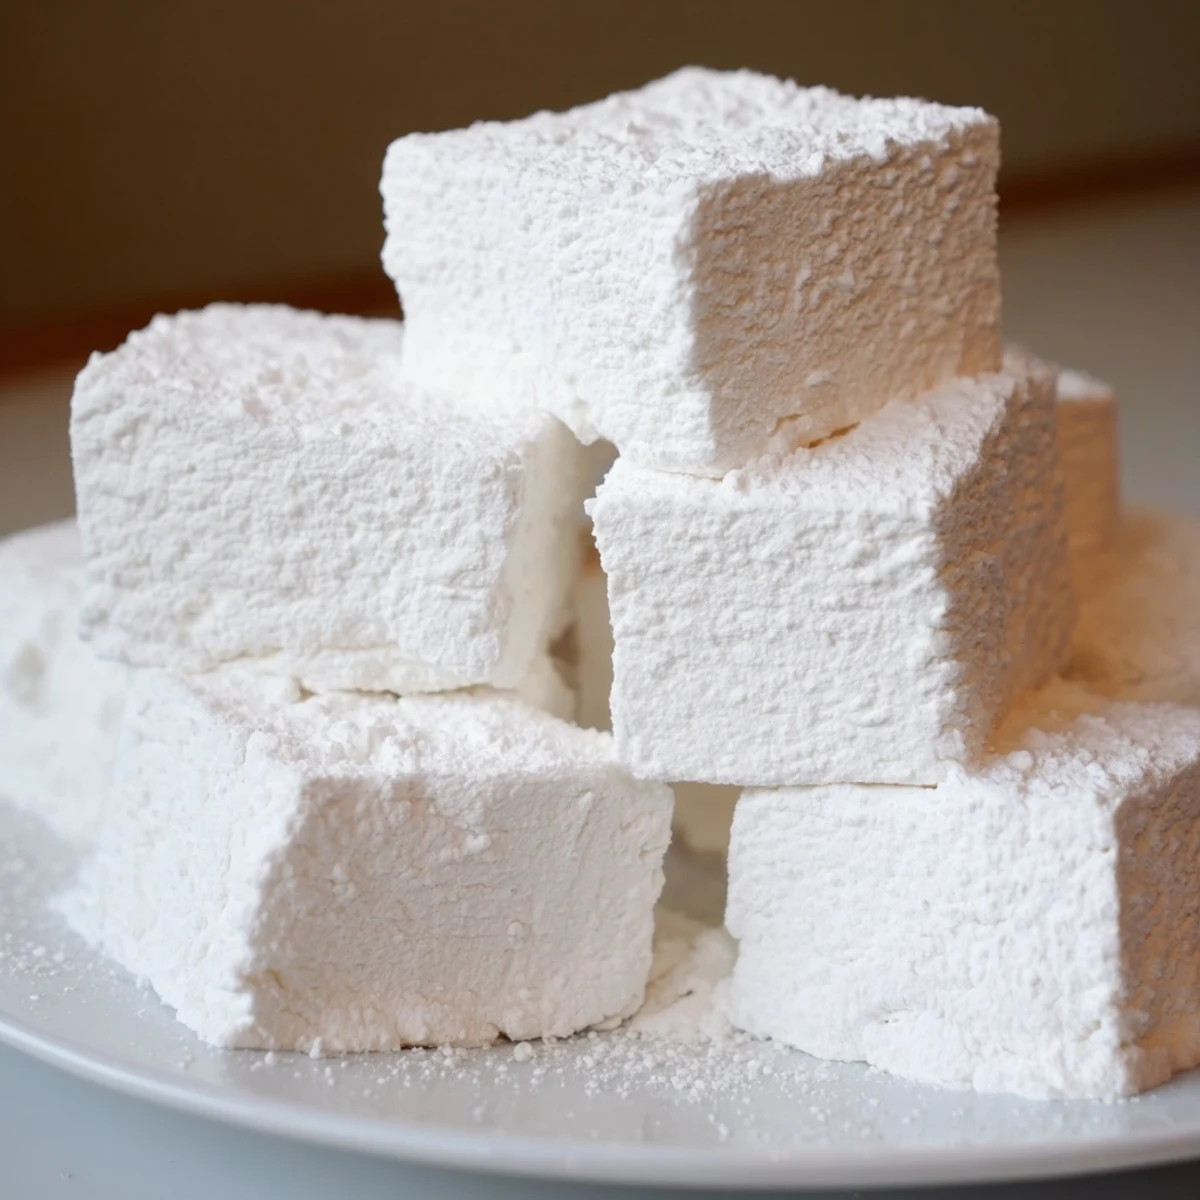
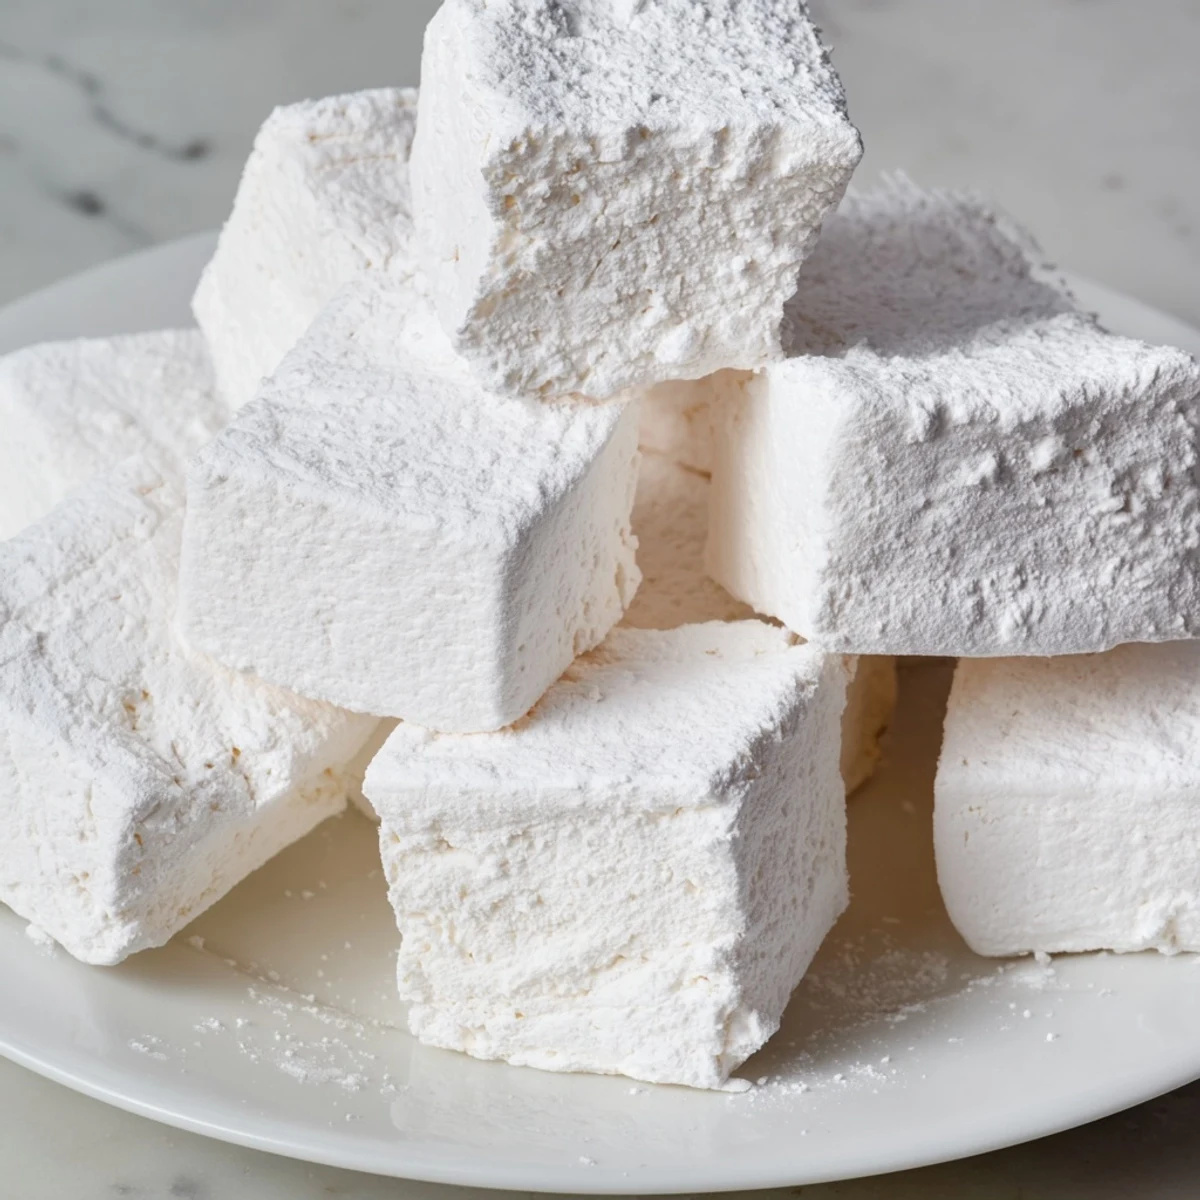
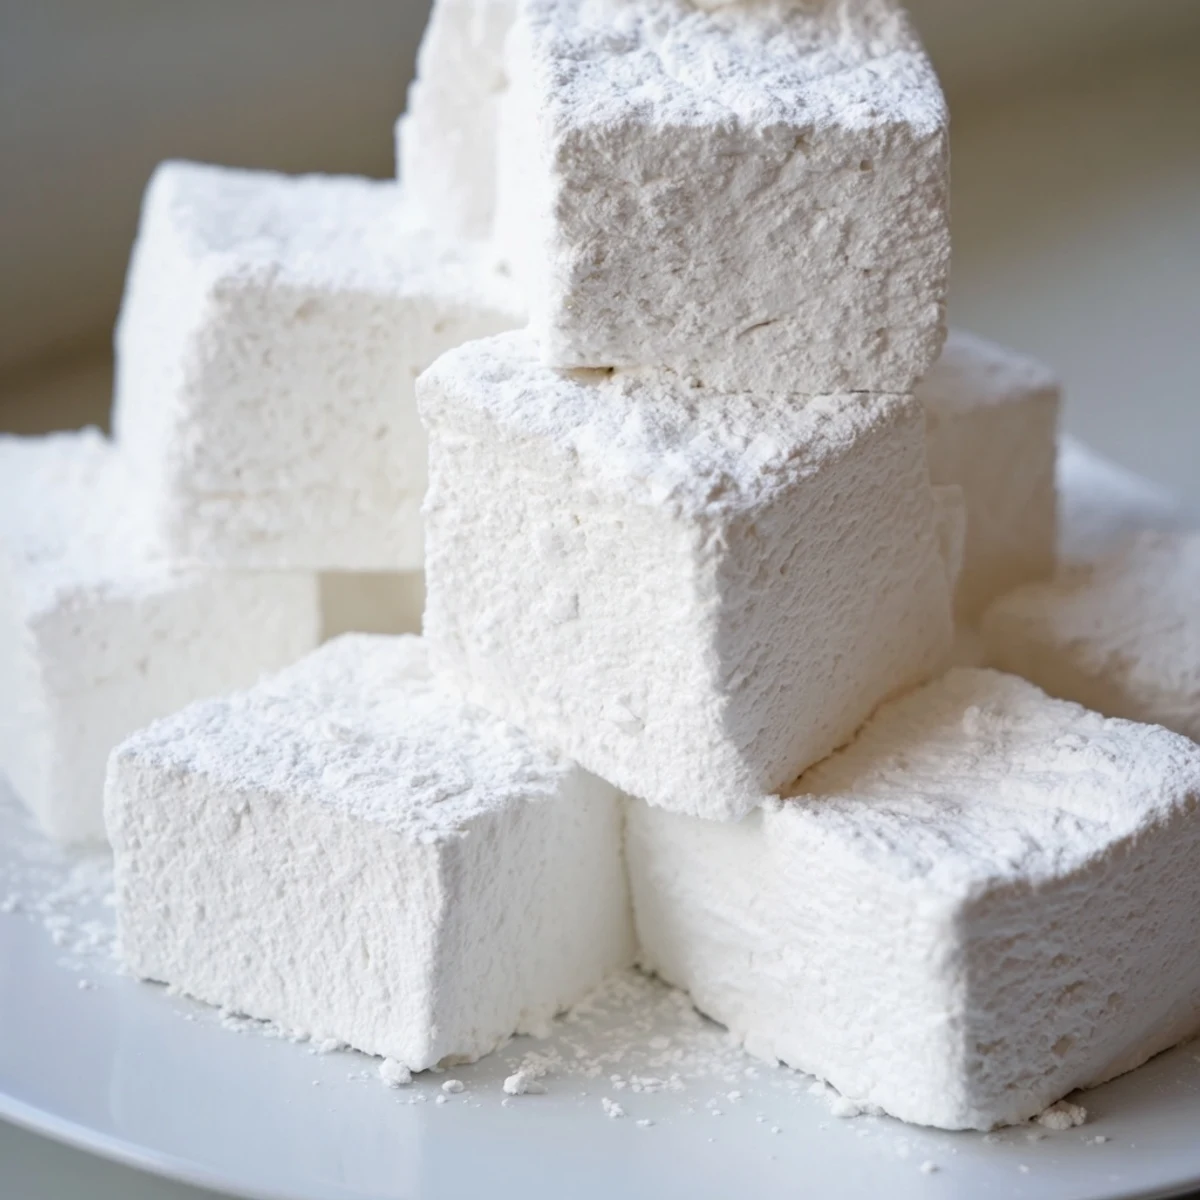
- Turn the slab onto a cutting board and cut into squares with a sharp knife dusted with powdered sugar. Toss each marshmallow in the sugar cornstarch mix to coat all sides perfectly.
 Save
Save These marshmallows have become my go-to hostess gift because they never fail to impress. I love dropping off a little box and receiving a text the next day asking for the recipe. Something about receiving a homemade treat that feels so special and indulgent creates this instant connection that store-bought sweets just cant replicate.
Mastering The Fluff Factor
The whipping stage is where marshmallows go from good to absolutely heavenly. Don't be tempted to cut this short even if your arm gets tired from holding the mixer. That full 8–10 minutes on high speed incorporates the air bubbles that give marshmallows their signature cloud-like texture. You'll know it's ready when the mixture forms soft peaks and holds its shape beautifully.
Coating Like A Pro
The sugar and cornstarch mixture isn't just for show it's essential for preventing your marshmallows from turning into one sticky mass. I keep a small bowl of this mix beside my cutting board and dip my knife in it between cuts. The extra effort makes serving so much easier and gives them that professional bakery look.
Endless Flavor Possibilities
Vanilla is just the beginning of what you can do with this base recipe. I've made peppermint versions for Christmas strawberry for summer gatherings and even chocolate marshmallows by adding cocoa powder to the sugar syrup. The technique stays exactly the same which means once you master the basics you can customize endlessly.
- Add food coloring during the final whip to create festive colors for holidays
- Try replacing vanilla with almond peppermint or coconut extract for completely different flavor profiles
- Dip finished marshmallows in melted chocolate for an extra special treat
 Save
Save There's something deeply satisfying about pulling that perfectly set marshmallow slab from the pan and cutting into it. The clean knife through pillowy white fluff never gets old and neither does watching people discover what real marshmallows taste like.
Common Recipe Questions
- → Why do I need a candy thermometer?
-
Reaching exactly 240°F ensures the sugar syrup achieves the soft-ball stage, creating marshmallows that hold their shape without becoming too hard or sticky. Without proper temperature control, your final texture may suffer.
- → Can I make marshmallows without a stand mixer?
-
While possible with a hand mixer and some arm strength, a stand mixer makes the lengthy whipping process much easier. If using a hand mixer, expect to whip for 10-12 minutes and take breaks to prevent overheating the motor.
- → How long do homemade marshmallows last?
-
Stored in an airtight container at room temperature, these stay fresh for up to one week. Avoid refrigeration, which introduces moisture and makes them unpleasantly sticky.
- → What's the purpose of letting them sit uncovered?
-
Air-drying forms a slight crust on the exterior, making the marshmallows easier to cut and handle. This resting period also allows the gelatin to fully set, creating that signature fluffy interior.
- → Can I substitute corn syrup?
-
Glucose syrup works identically. Honey or maple syrup alter the flavor significantly and prevent proper setting. For authentic texture and taste, stick with light corn or glucose syrup.
- → Why did my marshmallows turn out sticky?
-
Insufficient coating powder or humidity can cause stickiness. Ensure you dust all surfaces generously with the cornstarch-sugar mixture. In humid climates, store them in a cool, dry place with a desiccant packet.