 Save
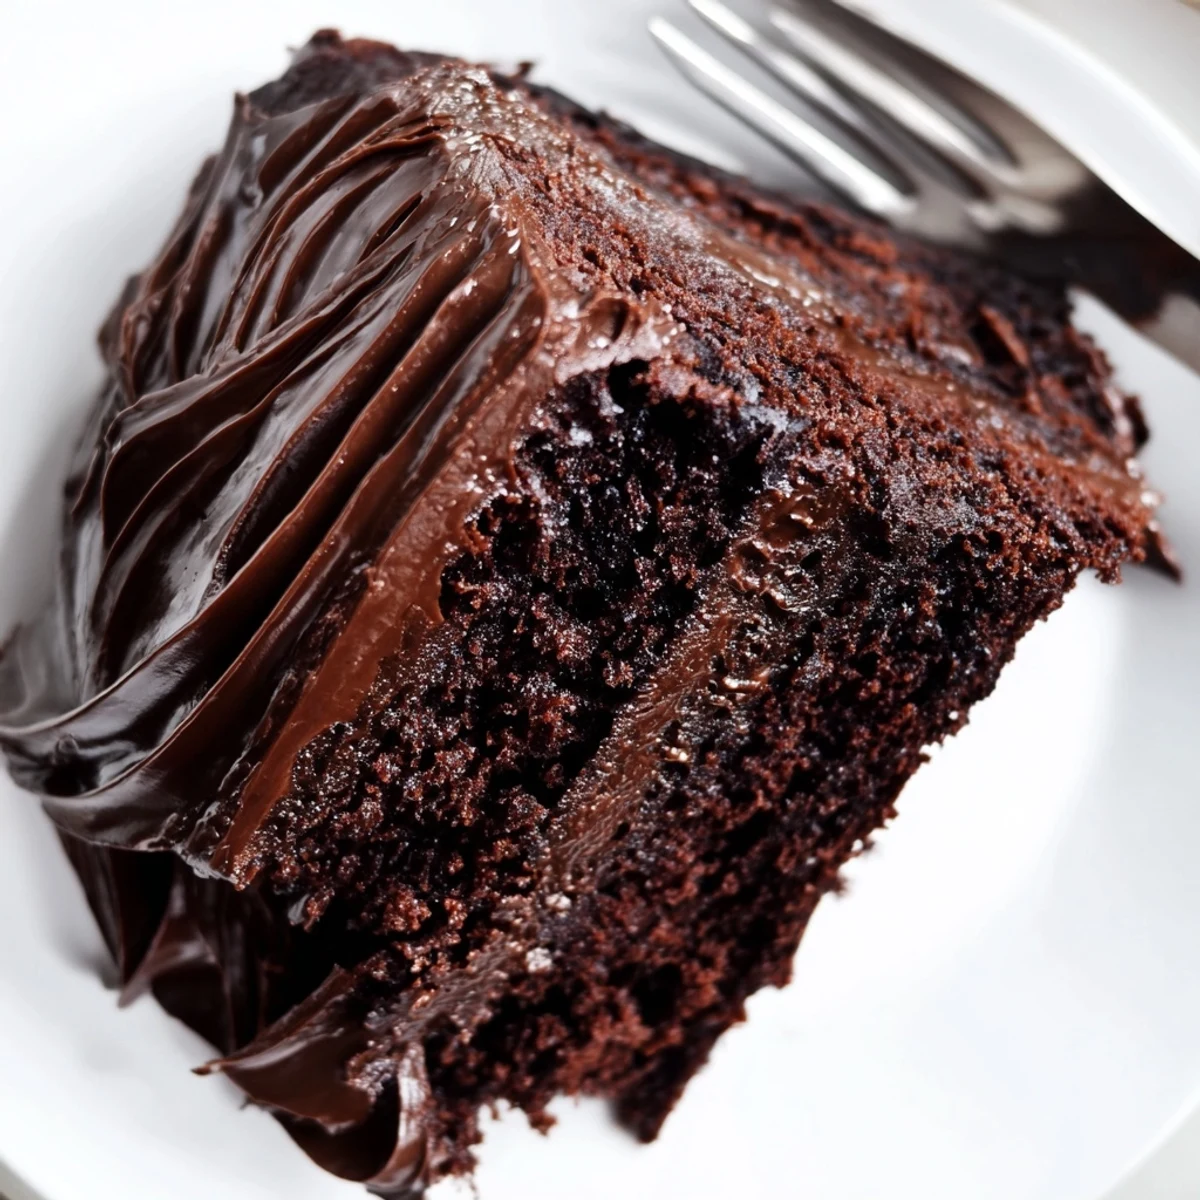
Save This classic chocolate layer cake delivers everything you want in a celebratory dessert: incredibly moist crumb, deep chocolate flavor, and luscious buttercream frosting. The batter comes together quickly with pantry staples, while boiling water creates that signature tender texture. Perfect for birthdays, holidays, or whenever chocolate cravings strike.
I made this cake the weekend after my daughter watched Matilda for the first time, and she spent the entire movie talking about THAT chocolate cake scene. She kept asking if I could make something that looked like the cake Bruce Bogtrotter had to eat, so I decided to rise to the challenge. The moment she walked into the kitchen and smelled chocolate baking, her eyes lit up like she had discovered something magical. Now it is the cake she requests for every single birthday.
Last summer I made three of these cakes in one week for various family gatherings, and my brother-in-law actually asked if I could start selling them. My youngest helped with the swoops and swirls on the frosting, though she may have licked more frosting off the spatula than actually made it onto the cake. There is something so satisfying about watching a room full of people go quiet when that first slice is served. This cake has become my go-to for moments when I need to make someone feel truly celebrated.
Ingredients
- 225 g all-purpose flour: The structure that holds all this chocolatey goodness together
- 400 g granulated sugar: Do not reduce this sugar as it keeps the cake tender and moist
- 85 g unsweetened cocoa powder: Use a good quality cocoa for the deepest chocolate flavor
- 1½ tsp baking powder: Helps the cake rise to perfect fluffy heights
- 1½ tsp baking soda: Works with the boiling water to create that tender crumb
- 1 tsp salt: Balances the sweetness and makes chocolate taste more intense
- 2 large eggs: Must be at room temperature to incorporate properly into the batter
- 240 ml whole milk: Adds richness though you can swap some for sour cream
- 120 ml vegetable oil: Keeps the cake moister than butter would
- 2 tsp pure vanilla extract: Use the real stuff since vanilla amplifies chocolate
- 240 ml boiling water: The secret ingredient that blooms the cocoa and creates magic
- 225 g unsalted butter softened: Room temperature butter is nonnegotiable for silky frosting
- 75 g unsweetened cocoa powder: Sift this to avoid any lumps in your frosting
- 425 g powdered sugar: Gives structure and sweetness to the frosting
- 60 ml whole milk: Add gradually until you reach your perfect spreading consistency
- 2 tsp pure vanilla extract: Makes the frosting taste professionally crafted
- Pinch of salt: Just enough to make the chocolate flavor pop
Instructions
- Get everything ready:
- Preheat your oven to 175°C and grease two round cake pans then line them with parchment paper so nothing sticks.
- Whisk the dry ingredients:
- In a large bowl combine flour sugar cocoa powder baking powder baking soda and salt until everything is evenly distributed.
- Add the wet ingredients:
- Pour in eggs milk oil and vanilla then beat on medium speed until the batter looks smooth and well combined.
- Add the magic water:
- Carefully stir in the boiling water which will make the batter look worryingly thin but this is exactly what you want.
- Bake the layers:
- Divide the batter between your prepared pans and bake for 30 to 35 minutes until a toothpick comes out clean.
- Cool completely:
- Let the cakes rest in their pans for 10 minutes then turn them onto wire racks to cool entirely before frosting.
- Make the frosting:
- Beat softened butter until creamy then sift in cocoa powder and mix until combined before gradually adding powdered sugar.
- Perfect the texture:
- Alternate adding milk with the remaining sugar until smooth then beat in vanilla and a pinch of salt.
- Assemble the cake:
- Place one cooled cake layer on your serving plate spread frosting on top then stack the second layer.
- Frost everything:
- Cover the top and sides generously with the remaining frosting using an offset spatula.
- Create the swoops:
- Use light circular motions with your spatula to make those iconic Matilda swirls that look so inviting.
 Save
Save I once forgot to let the cake cool completely before frosting and ended up with chocolate streaks through my buttercream. My family did not care one bit but I learned my lesson about patience. That imperfect cake still disappeared faster than any dessert I have ever made. Sometimes the mistakes make the best memories anyway.
Making It Your Own
This cake base is incredibly forgiving and welcomes all sorts of creative additions. I have stirred chocolate chips into the batter before baking which creates little pockets of melted chocolate throughout. Some friends add a teaspoon of instant coffee to enhance the chocolate flavor without making it taste like coffee. You could even swap some of the boiling water for hot brewed coffee if you want a mocha version.
Storage and Serving
The cake actually tastes better on day two when all the flavors have had time to mingle and settle. Keep it covered at room temperature for up to three days though in my house it never lasts that long. If you need to store it longer refrigerate it but bring slices to room temperature before serving for the best texture. This cake travels surprisingly well if you need to bring it to a party or potluck.
Party Perfect Tips
When I make this for a crowd I always double the frosting recipe because there is nothing worse than running out halfway through decorating. Clean your offset spatula frequently in hot water to get those perfectly smooth swoops. Make the cake layers one day ahead and wrap them tightly in plastic wrap to free up time on the big day.
- Sprinkle chocolate curls on top for an extra impressive presentation
- Practice the swooping motion on a plate before attempting the actual cake
- Have a glass of milk ready because you will want a bite immediately
 Save
Save Whether you are celebrating a birthday or just need serious chocolate comfort this cake delivers every single time. I hope it becomes part of your familys story too.
Common Recipe Questions
- → What makes this cake so moist?
-
Boiling water in the batter creates steam while baking, resulting in an incredibly moist crumb that stays fresh for days. The oil also contributes to moisture retention compared to butter-based cakes.
- → Can I make this cake ahead of time?
-
Absolutely. The cake layers can be baked up to two days in advance and stored wrapped at room temperature. You can also freeze unfrosted layers for up to three months. Frost the cake the day you plan to serve it.
- → Why does the batter seem so thin?
-
The thin consistency is normal and necessary for this recipe. The boiling water creates a runny batter that bakes into an exceptionally moist cake. Don't be tempted to add more flour—the texture is perfect as written.
- → How should I store the finished cake?
-
Keep the frosted cake covered at room temperature for up to three days. For longer storage, refrigerate in an airtight container. Bring to room temperature before serving for the best texture and flavor.
- → Can I make this in different pan sizes?
-
Yes, this batter works well in three 8-inch rounds for thinner layers, or one 9x13-inch pan for sheet cake. Adjust baking time accordingly—check for doneness a few minutes earlier for smaller pans.