 Save
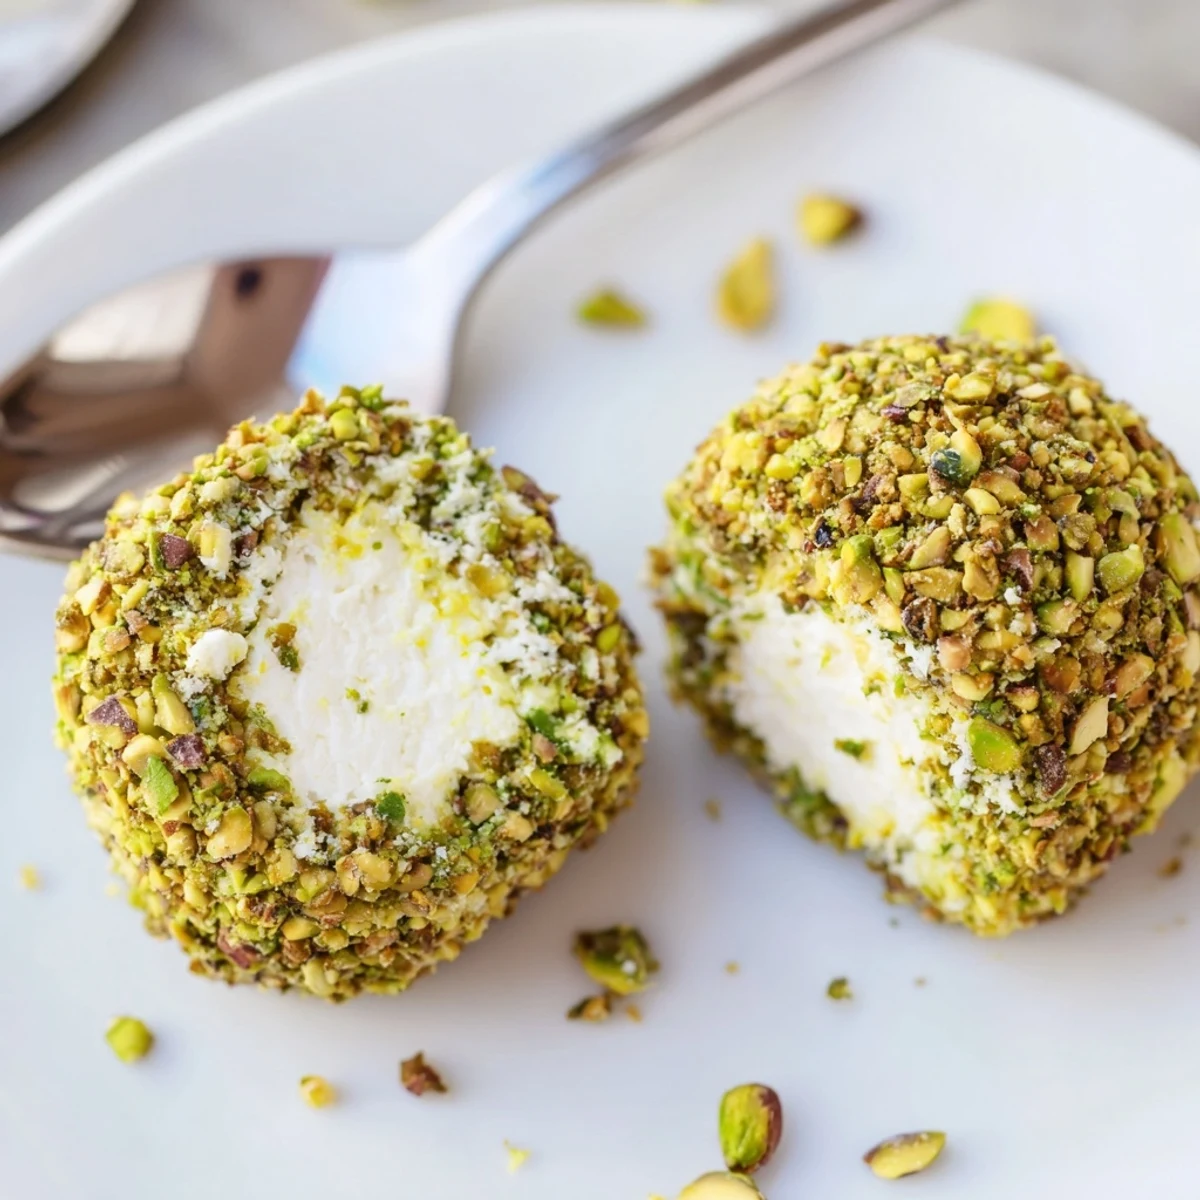
Save Combine softened cream cheese and goat cheese with chives, lemon zest and black pepper until smooth. Chill briefly to firm, then scoop into tablespoon-sized balls. Press each into finely chopped pistachios (add crushed crackers for extra crunch). No cooking required; ready in about 20 minutes for 20 bite-sized portions. Serve chilled with vegetables or crostini; gluten-free if using GF crackers.
The crunch hit me before the flavor did, and I was sold instantly. A friend brought something similar to a potluck years ago, and I spent the entire evening dissecting what made them so addictive. Turns out it is the pairing of creamy, tangy cheese with the toasty warmth of crushed pistachios. These little bites have been my secret weapon for every gathering since.
I once made these for a last minute book club meeting where the only other food was store bought hummus and leftover Halloween candy. Nobody touched the hummus, and the candy sat untouched while everyone hovered around the pistachio bites. My friend Laura cornered me in the kitchen and demanded the recipe before she left.
Ingredients
- Cream cheese (200 g): Bring it to room temperature so it blends smoothly without lumps.
- Goat cheese (100 g): Adds a tangy depth that cream cheese alone cannot achieve.
- Fresh chives (1 tbsp, finely chopped): A mild onion freshness that ties the cheeses together.
- Lemon zest (1 tsp): This is the quiet star that makes every bite sing.
- Freshly ground black pepper (1/2 tsp): Adds subtle warmth and a hint of spice.
- Shelled pistachios (100 g, finely chopped): The crunch factor, and the reason people keep reaching for more.
- Crushed crackers (40 g, optional): Adds an extra layer of texture if you want a heartier coating.
Instructions
- Blend the cheeses:
- Toss the softened cream cheese, goat cheese, chives, lemon zest, and pepper into a bowl and stir until everything is creamy and unified. Taste it now because this is your chance to adjust.
- Chill the mixture:
- Pop the bowl into the fridge for about ten minutes so the cheese firms up enough to roll without sticking to your fingers.
- Prep the coating:
- Finely chop the pistachios and mix them with crushed crackers on a wide plate if you are using them. Spread the mixture out evenly so every ball gets full coverage.
- Roll into balls:
- Use about a tablespoon of the cheese mixture per ball and roll gently between your palms. Keep your hands slightly damp if the cheese starts to stick.
- Coat each ball:
- Roll every cheese ball through the pistachio mixture, pressing lightly so the nuts grab hold and coat the surface evenly.
- Plate and serve:
- Arrange them on a platter and serve right away or tuck them into the fridge until your guests walk through the door.
 Save
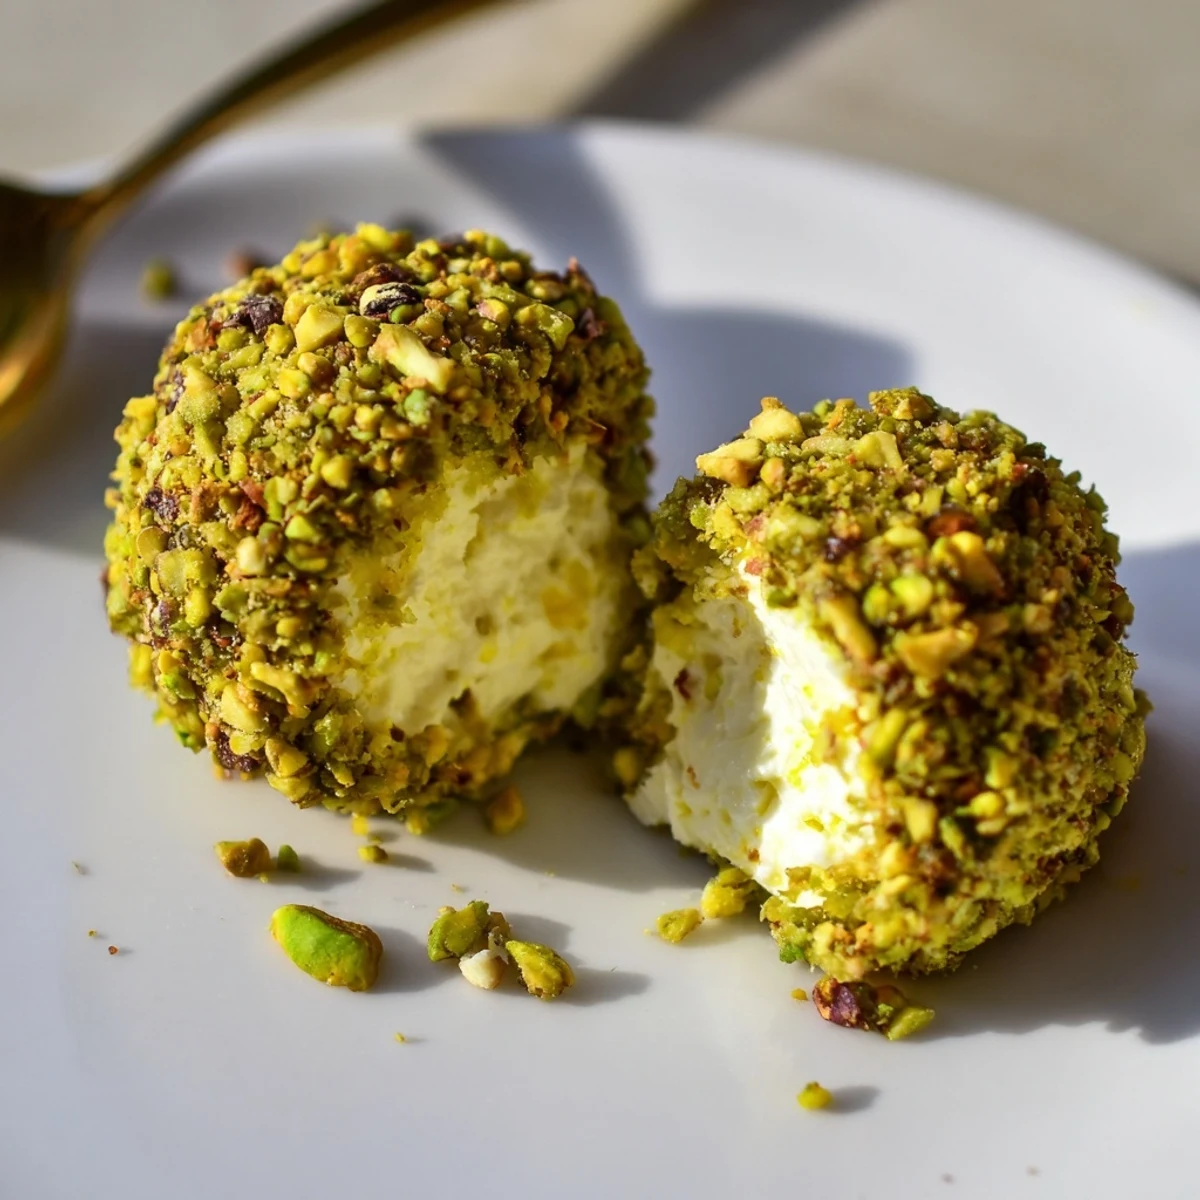
Save The night I served these at a holiday party, my normally quiet neighbor stood by the appetizer table for twenty minutes eating them one after another while pretending to examine the cheese board. That was the moment I realized this recipe was less about food and more about the way it brings people together in a kitchen doorway.
Serving Ideas That Work Every Time
I have served these on everything from wooden cutting boards to fancy ceramic platters, and honestly they disappear either way. Pair them with sliced cucumbers, crostini, or scatter them around a charcuterie board for visual impact. A glass of Sauvignon Blanc alongside them is genuinely a perfect match.
When Things Go Sideways
If your mixture feels too soft to hold its shape, do not panic, just give it more time in the fridge. On humid days I have needed up to twenty minutes of chilling before the cheese cooperated. If you accidentally over chop the pistachios into dust, toss in some bigger pieces for contrast because you want visible green flecks.
Making Them Your Own
This recipe forgives experimentation beautifully. Try smoked paprika in the cheese mix for a warm twist or swap chives for fresh dill if that is what you have growing on the windowsill.
- Add a pinch of cayenne if you want a sneaky kick that guests will not expect.
- Roll half the batch in crushed peppercorns for a two toned presentation.
- Always make more than you think you need because they vanish faster than you would believe.
 Save
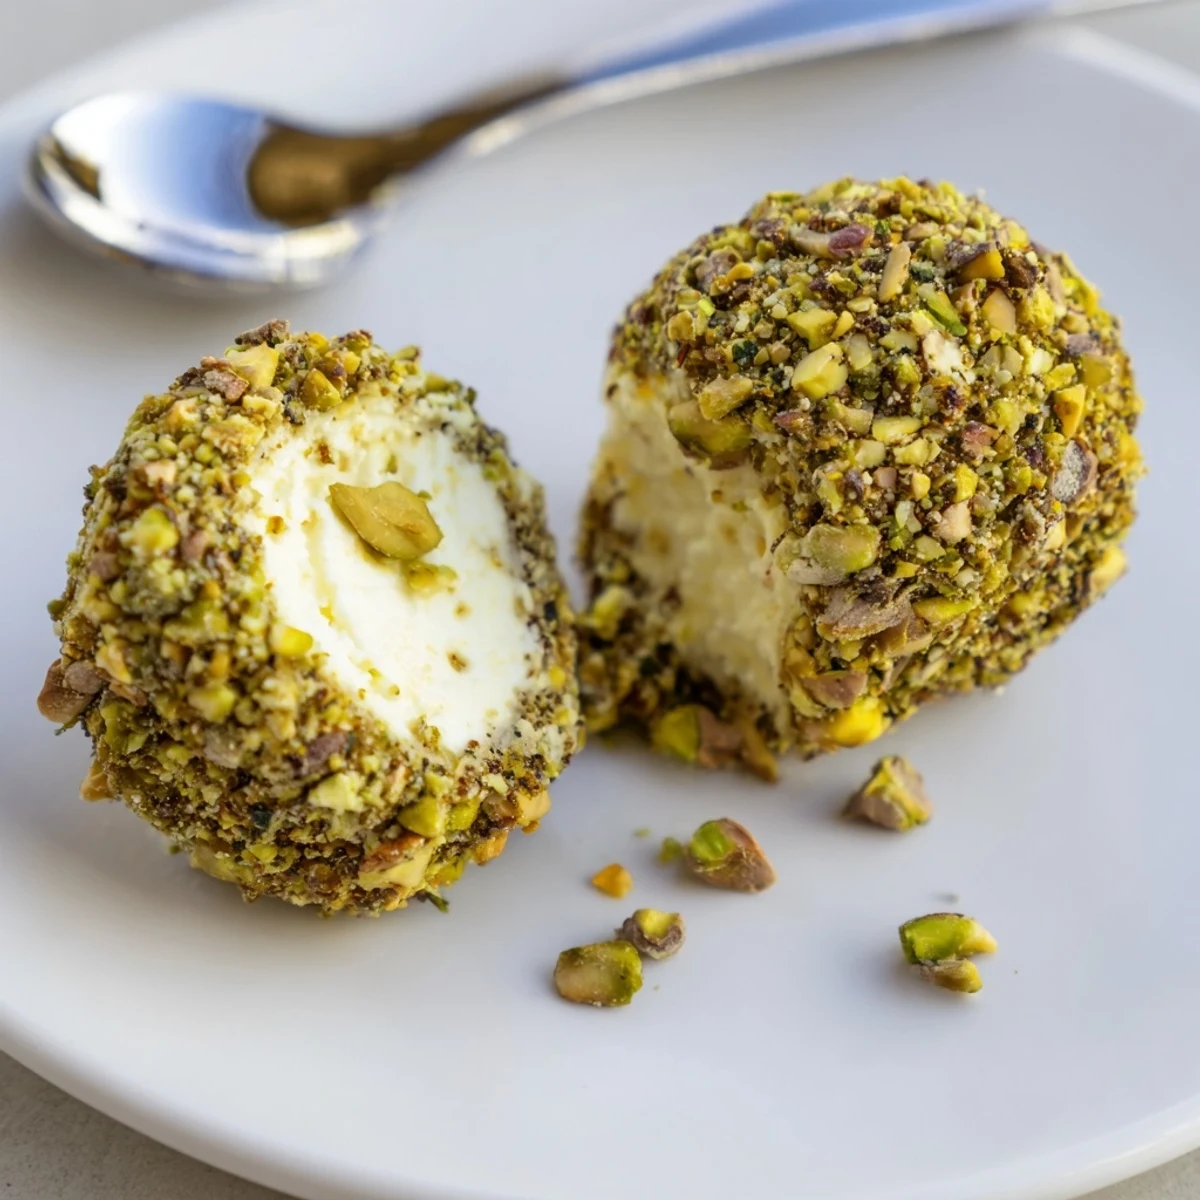
Save These little bites have never once let me down, and I suspect they will become your most requested recipe too. Keep it tucked somewhere handy because someone will always ask for it.
Common Recipe Questions
- → How should I store leftover bites?
-
Keep finished bites covered in a single layer or in a shallow container with parchment between layers. Refrigerate up to 3 days to preserve texture and freshness; bring to near-chill temperature before serving for best mouthfeel.
- → What can I use instead of pistachios for a nut-free option?
-
Substitute finely crushed toasted seeds (sunflower or pumpkin) or crushed gluten-free crackers to mimic crunch and color. Toast seeds briefly for deeper flavor before coating.
- → How do I ensure the coating adheres well?
-
Chill the cheese mixture until slightly firm, then roll tightly and press each ball into the nut mixture with gentle pressure. A thin wash of softened cheese on the surface helps coatings stick evenly.
- → Can I make these ahead of time?
-
Yes—assemble and coat, then refrigerate on a tray covered loosely with plastic wrap for up to 24 hours. For longer storage, freeze uncoated balls, thaw in fridge and roll in pistachios just before serving.
- → How can I adjust seasoning for more tang?
-
Add a touch of lemon juice, extra lemon zest, or a spoonful of crème fraîche to the cheese blend. Fresh herbs like dill or tarragon also brighten the filling without overwhelming the pistachio crust.
- → What are good serving pairings?
-
Present with sliced vegetables, crostini or a simple charcuterie board. A crisp white wine such as Sauvignon Blanc or a light sparkling wine complements the creamy tang and nutty crunch.