 Save
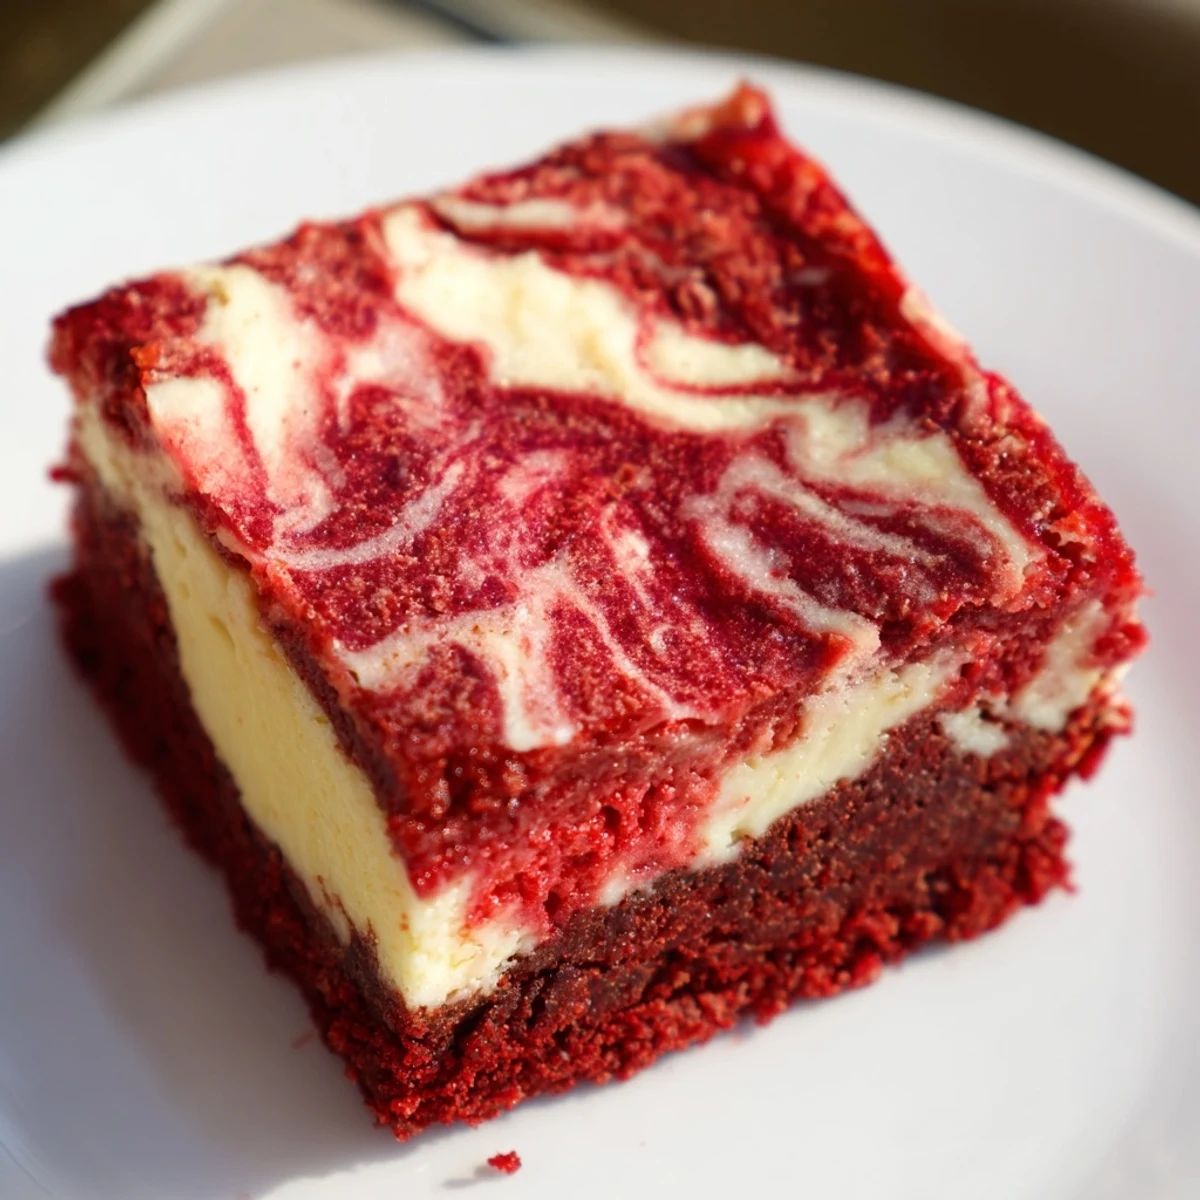
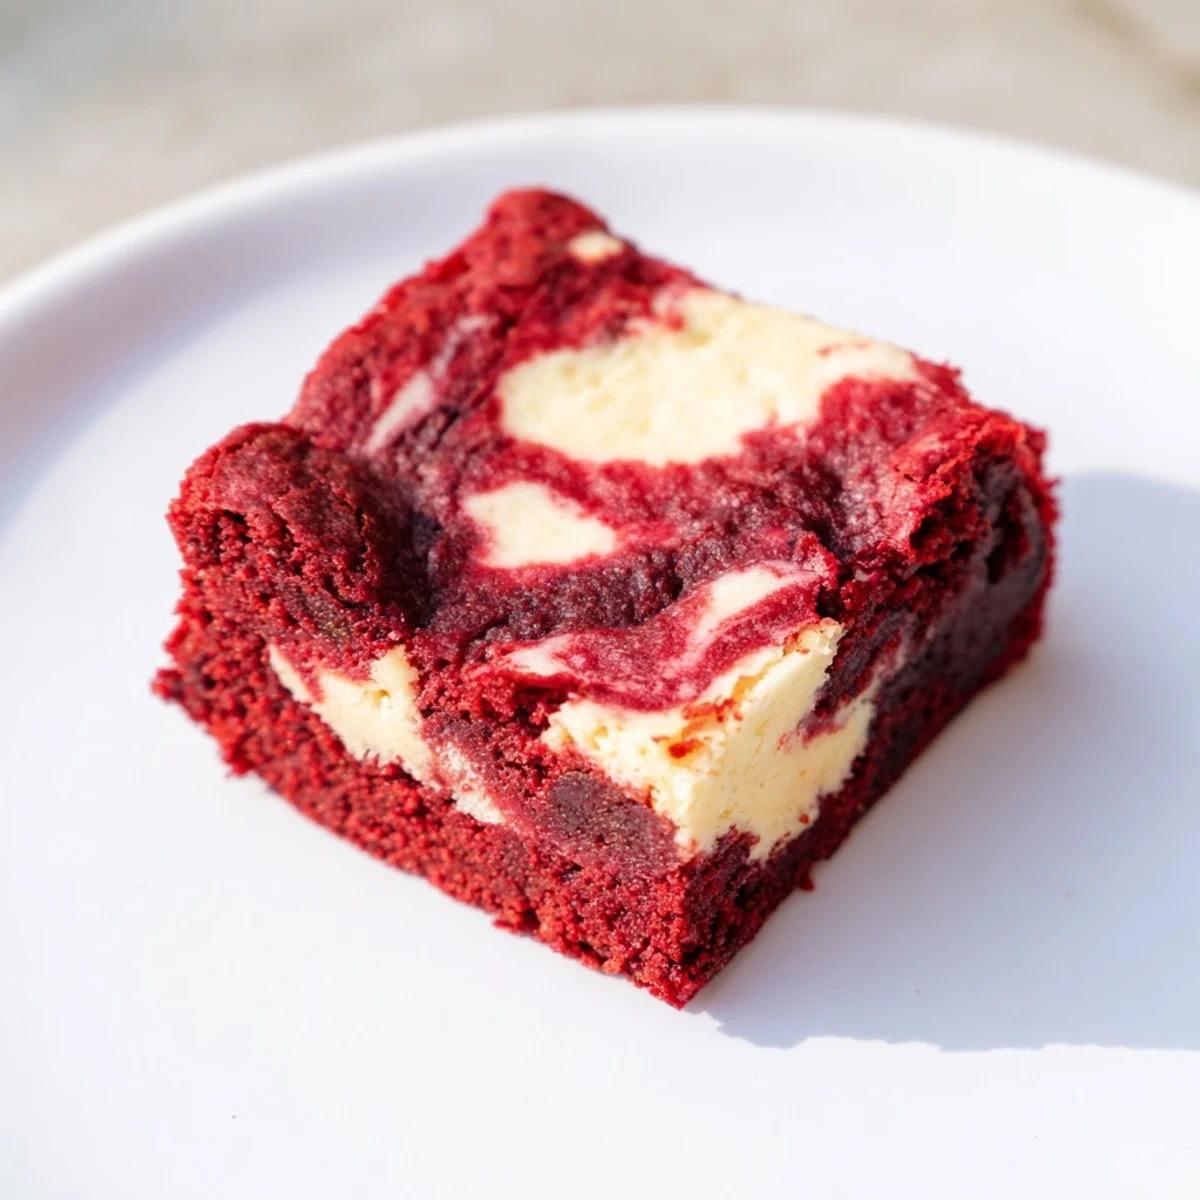
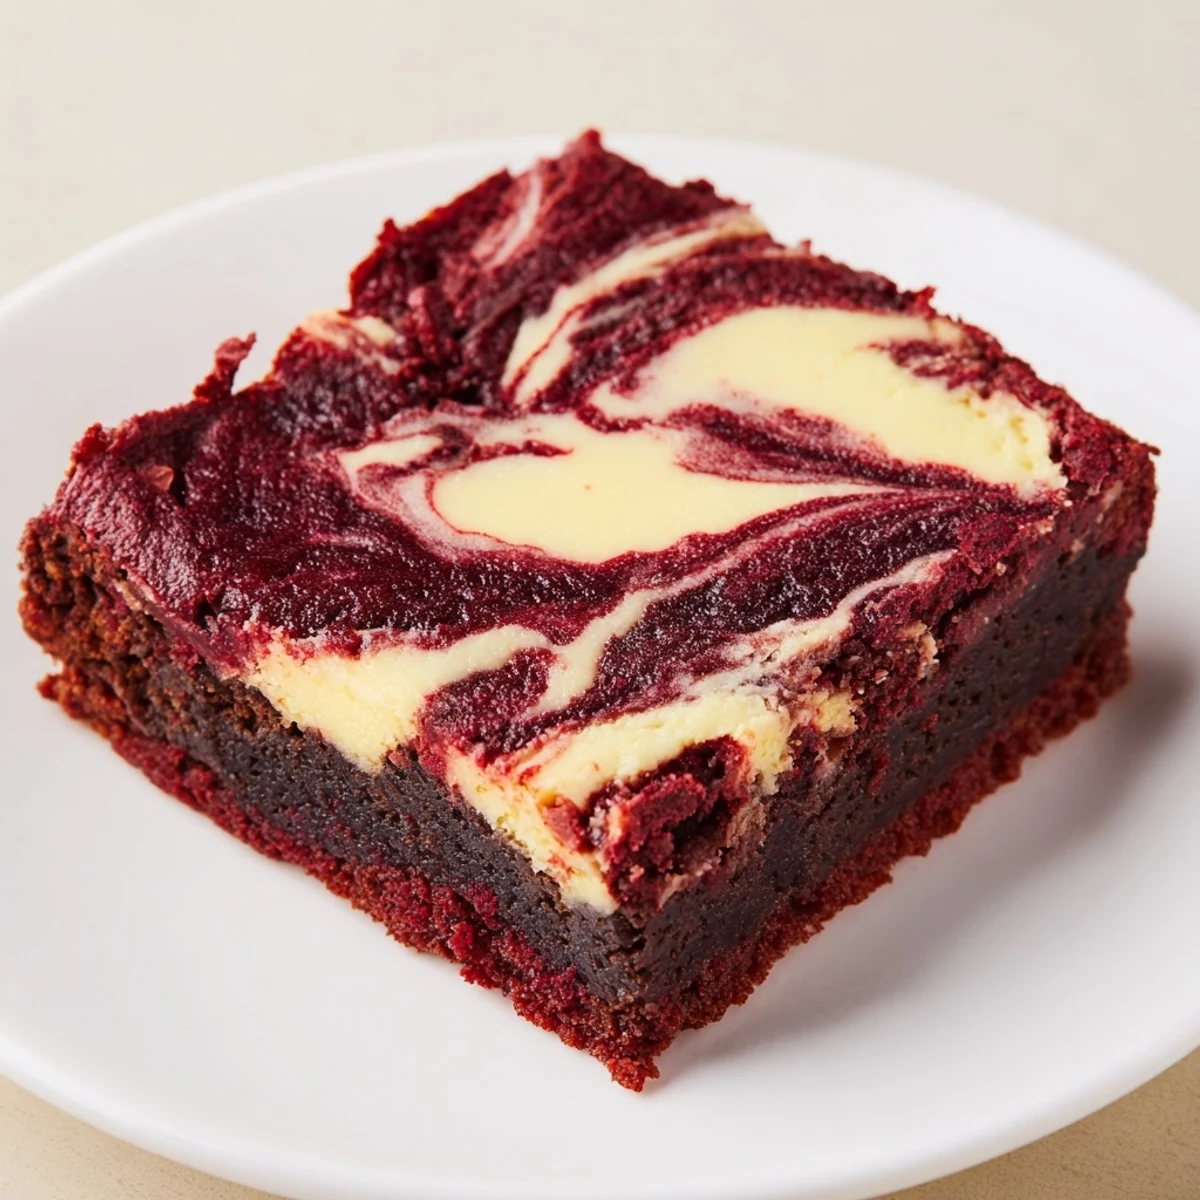
Save These red velvet brownies combine a rich, fudgy base with a creamy cheesecake swirl to deliver a stunning marbled effect. The batter blends melted butter, sugar, eggs, vanilla, and a touch of red food coloring with cocoa and flour. A smooth cheesecake mixture is gently swirled in before baking to create beautiful layers. Perfectly baked until just set, these bars offer a moist and tender texture ideal for sharing or special occasions.
The first time I made these, my kitchen looked like a crime scene with red splatters everywhere, but when I pulled that pan from the oven, the marbled swirl was absolutely mesmerizing. My roommate walked in, stopped dead in her tracks, and immediately asked for the recipe before even tasting one. That's the thing about red velvet—it has this way of demanding attention without saying a word.
I brought a batch to my sister's baby shower last spring, and honestly, they were gone before I could even set down the serving platter. Her mother-in-law cornered me in the kitchen demanding the recipe, saying she'd never tasted anything quite like them. Now every family gathering includes a quiet question about whether 'those brownies' will be making an appearance.
Ingredients
- Unsalted butter: Melt it gently and let it cool slightly—too hot and it might cook your eggs when you mix them in
- Granulated sugar: This creates that signature crinkly top on brownies, so don't be tempted to reduce it
- Large eggs: Room temperature eggs blend more smoothly into the batter for an even texture
- Vanilla extract: Pure vanilla makes a noticeable difference in both layers
- Red food coloring: Gel coloring gives a deeper red with less liquid, which won't throw off your batter consistency
- All-purpose flour: Measure by weight if possible—too much flour makes brownies cakey instead of fudgy
- Unsweetened cocoa powder: Dutch-processed cocoa gives a milder chocolate flavor that lets the tangy cheesecake shine
- Salt: Just enough to enhance the chocolate without making these taste salty
- Cream cheese: Truly softened to room temperature prevents lumps in your swirl layer
- Egg yolk: The extra yolk adds richness without making the cheesecake layer too loose
Instructions
- Get your oven ready:
- Preheat to 175°C (350°F) and line your 20x20 cm pan with parchment paper, letting the edges hang over like handles
- Make the brownie batter:
- Whisk melted butter and sugar until they're glossy and smooth, then add eggs, vanilla, and red food coloring until combined
- Add the dry ingredients:
- Sift in flour, cocoa powder, and salt, then fold gently until no dry streaks remain—overmixing makes tough brownies
- Prep your swirl supplies:
- Set aside about ¼ cup of brownie batter in a small bowl, then spread the rest evenly in your prepared pan
- Make the cheesecake layer:
- Beat cream cheese until completely smooth, then add sugar, egg yolk, and vanilla until creamy and blended
- Create the marble:
- Drop spoonfuls of cheesecake mixture over the brownie batter, then dollop your reserved brownie batter on top
- Swirl it together:
- Run a knife or skewer through the layers in a figure-eight pattern, but don't over-swirl or you'll lose the definition
- Bake to perfection:
- Bake 32-35 minutes until the center is just set and a toothpick comes out with moist crumbs, not wet batter
- Cool completely:
- Let them cool completely in the pan before slicing—warm brownies with cheesecake swirl will be a messy situation
 Save
Save Last Christmas, I left these out on a decorative plate during our annual cookie exchange, and they became the accidental star of the show. My usually picky great-aunt took a bite, closed her eyes, and said she hadn't tasted something this special since her own mother's baking. That small moment made all the butter and red food coloring mess feel absolutely worth it.
Getting the Perfect Marble
The secret to those restaurant-worthy swirls is dropping your cheesecake mixture in evenly spaced spoonfuls rather than spreading it. When you drag your knife through, imagine you're writing the infinity symbol—just one or two passes through the whole pan. Any more than that and you'll lose the dramatic contrast between the red velvet and creamy white layers.
Pan Prep Matters
I learned this the hard way after leaving half my brownie stuck to the pan during a birthday party. Lifting the entire slab out using those parchment paper handles makes slicing so much cleaner and lets you get perfect edges. Trust me, fighting with a stuck pan while everyone's waiting for dessert is stress you don't need.
Make-Ahead Magic
These actually taste better after a night in the refrigerator, which means they're perfect for making a day ahead. The flavors meld together and the texture becomes even more fudgy and substantial. If you're bringing these somewhere, slice them cold and let them come to room temperature on the serving plate—they'll hold their shape beautifully.
- Warm brownies slightly in the microwave for 15 seconds if serving straight from the fridge
- Use a sharp knife wiped clean between cuts for the cleanest slices
- These freeze beautifully for up to three months if you want to stash some for emergencies
 Save
Save There's something almost magical about cutting into that first brownie and seeing the swirl pattern—no two ever look exactly alike. Hope they become as requested in your house as they are in mine.
Common Recipe Questions
- → What type of food coloring works best?
-
Gel food coloring is recommended for a deeper, more vibrant red without altering the batter's consistency.
- → Can I prepare this in advance?
-
Yes, store the finished brownies in an airtight container in the refrigerator for up to five days to maintain freshness.
- → How do I achieve the marbled effect?
-
Dollop cheesecake mixture over the brownie batter then swirl gently with a knife or skewer to create a natural marbled pattern.
- → Is it necessary to beat the cream cheese separately?
-
Beating cream cheese until smooth before adding sugar and egg yolk ensures a creamy swirl that blends well without lumps.
- → Can I add extra flavors or ingredients?
-
White chocolate chips can be folded into the brownie batter for added richness and texture.