 Save
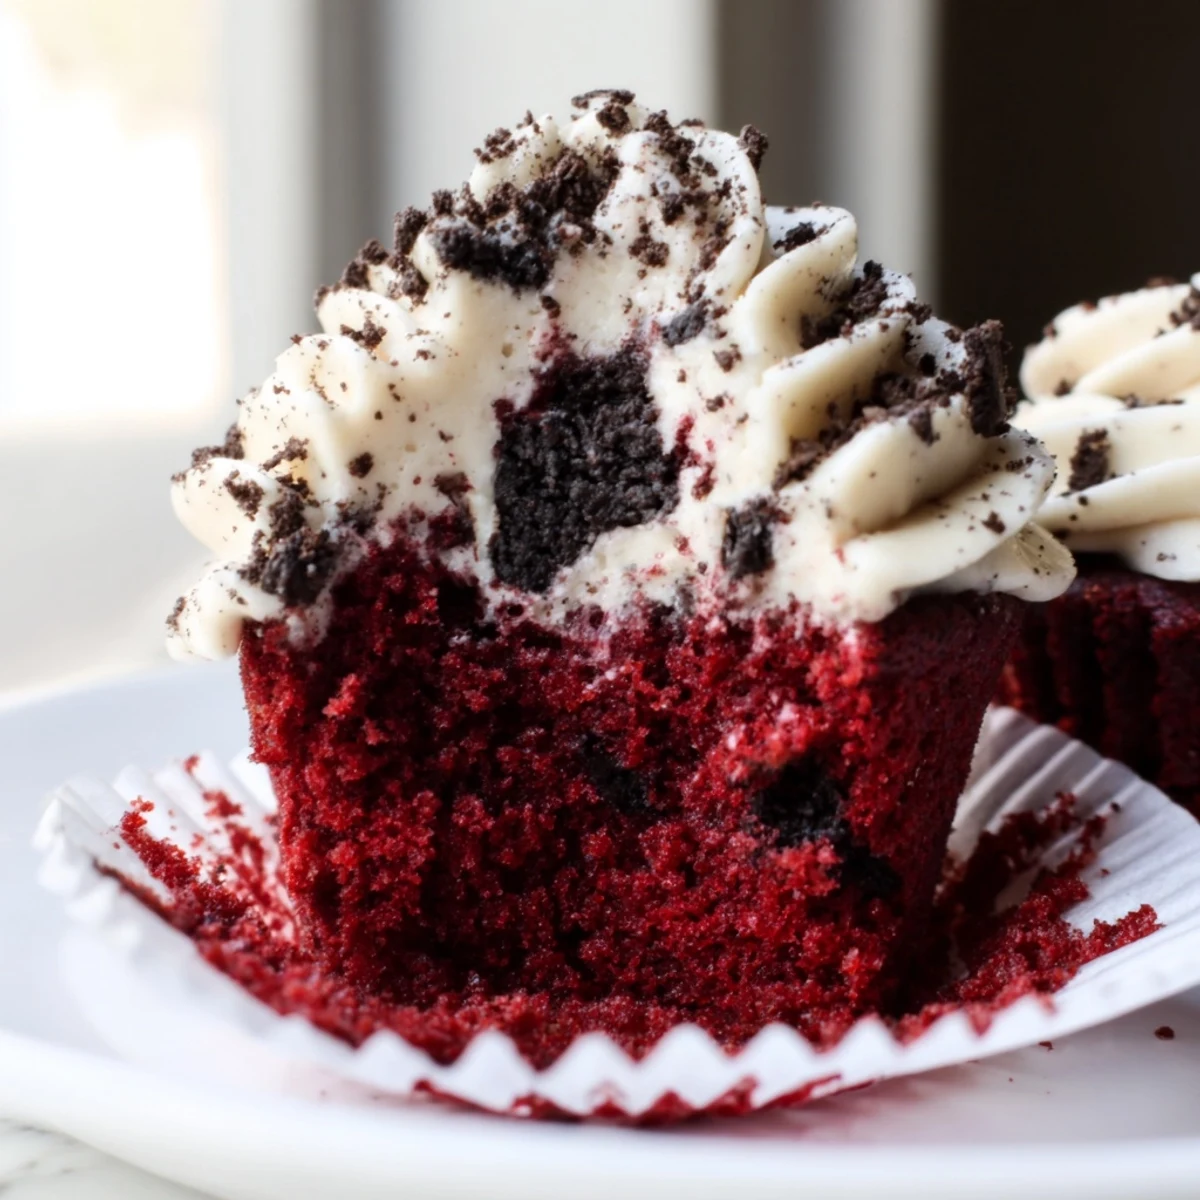
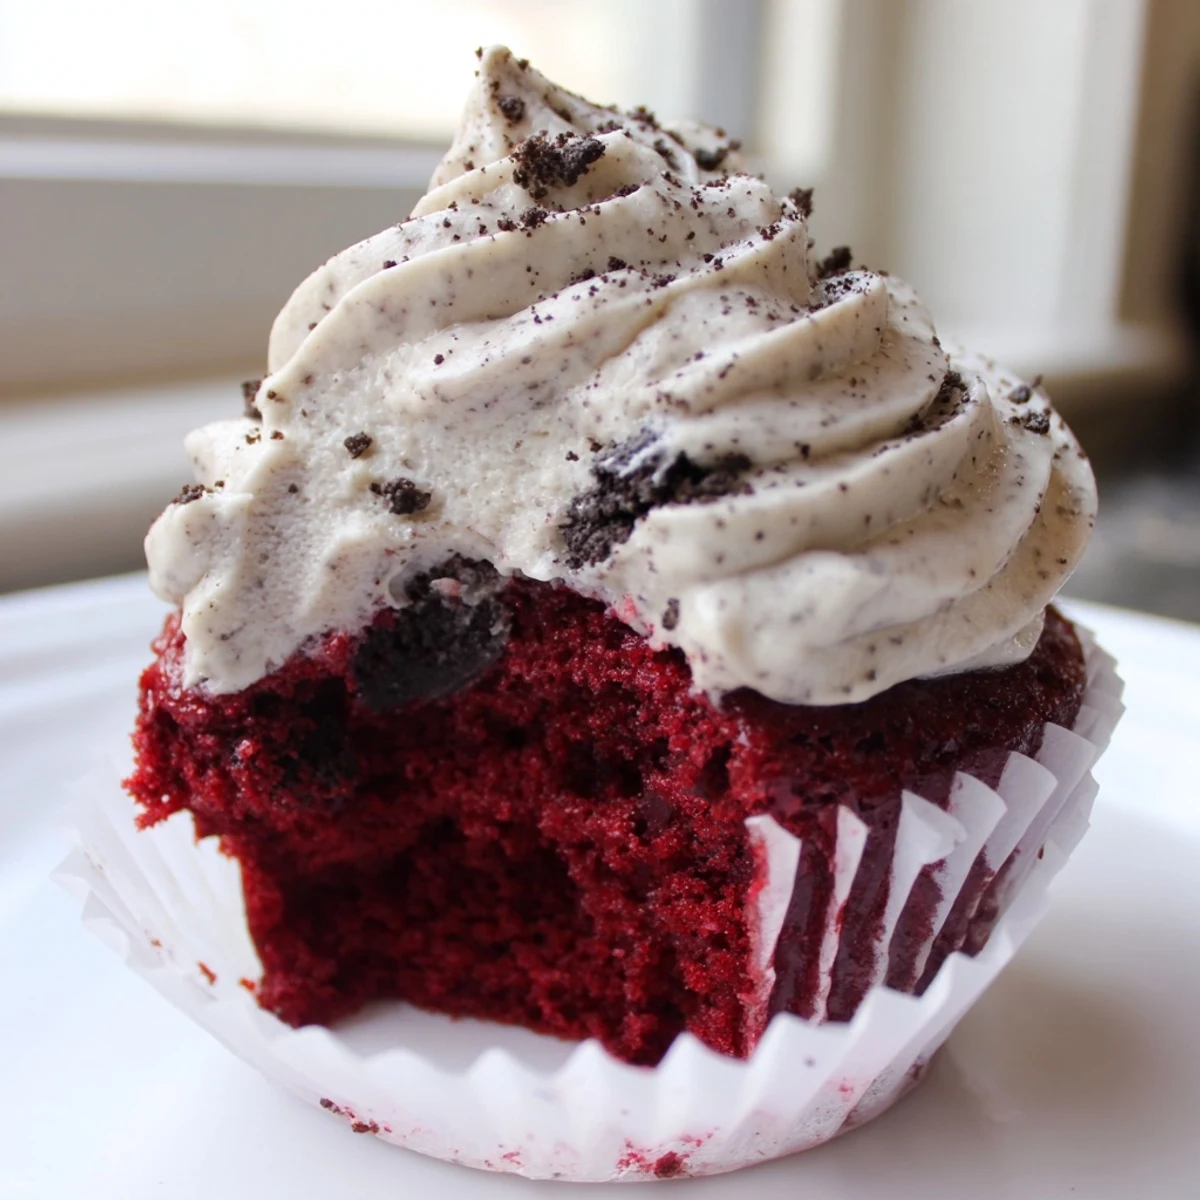
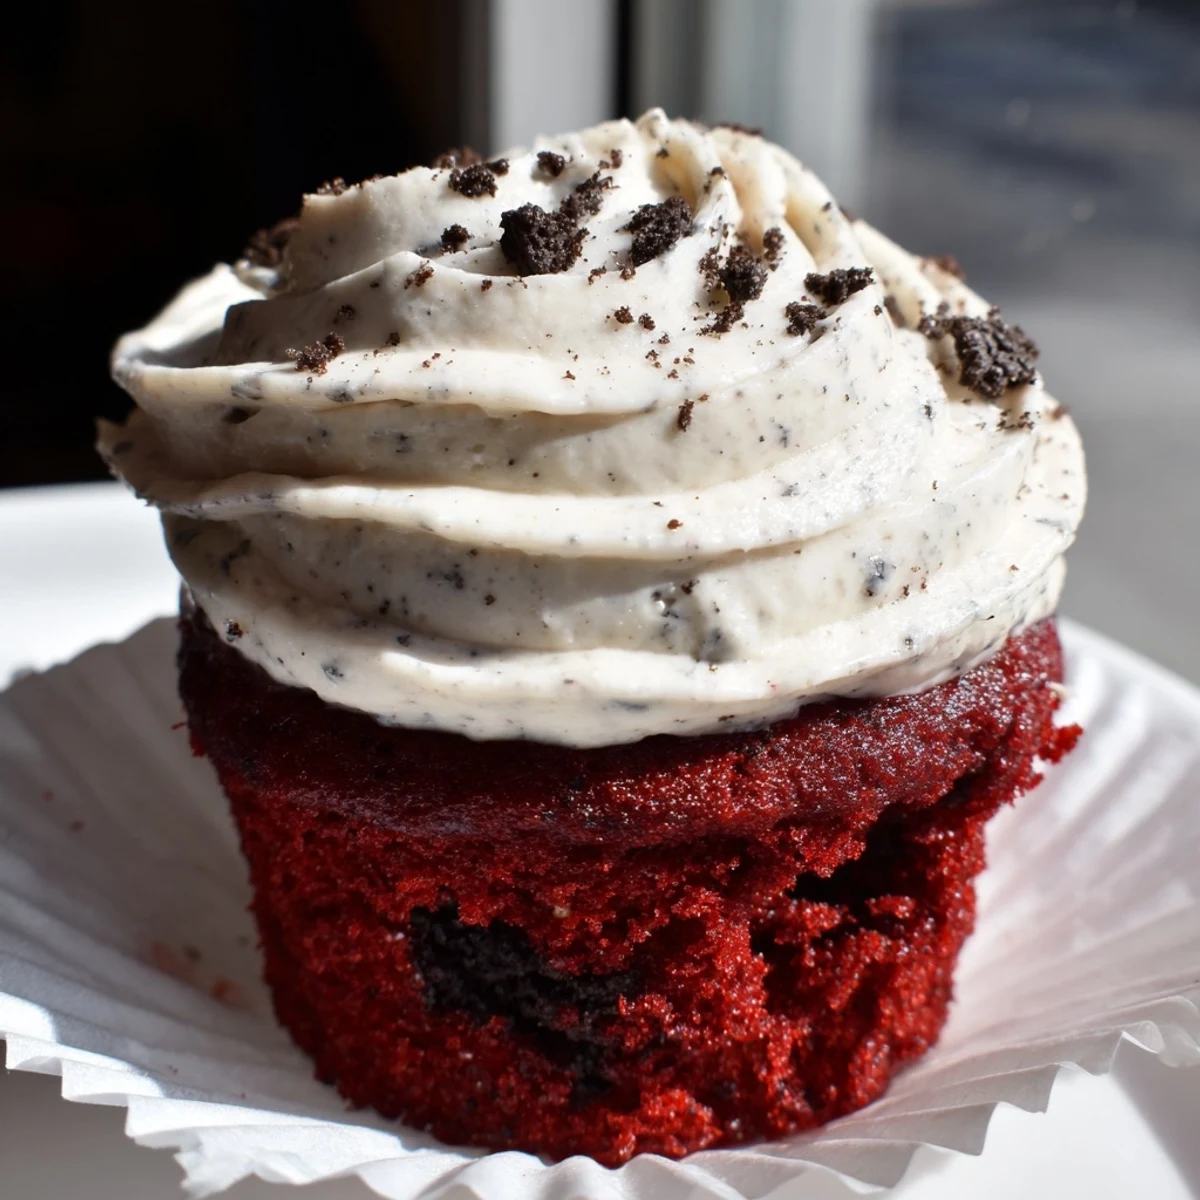
Save These red velvet Oreo cupcakes combine a soft, cocoa-kissed red velvet batter with generous chunks of chopped Oreo cookies throughout. Topped with a luscious cream cheese frosting blended with finely crushed Oreos, every bite delivers a satisfying cookies-and-cream contrast.
Ready in just 40 minutes with simple ingredients, they yield 12 beautifully frosted cupcakes ideal for birthdays, holidays, or whenever a decadent dessert craving strikes. The buttermilk and vinegar ensure a tender crumb, while the gel food coloring gives that signature deep red hue.
My kitchen looked like a crime scene the first time I tackled red velvet anything, red batter splattered on the ceiling and somehow behind the refrigerator. But those cupcakes were so good that nobody cared about the mess, and I have been chasing that same soft, indulgent texture ever since. Stuffing them with Oreo pieces was an accident born from a late night pantry raid, and honestly, it changed everything. Now these are the cupcakes people text me about weeks before their birthdays.
I brought a batch of these to a friends potluck last fall and watched a quiet room erupt into debate over whether the Oreo bits or the frosting was the star. My friend Marcus ate four of them before dinner was even served and then pretended he was too full for the main course. Those moments are why I keep making them.
Ingredients
- All-purpose flour (1 1/4 cups, 160 g): Provides the structure, and spooning it into the cup instead of scooping prevents dense cupcakes.
- Unsweetened cocoa powder (3 tbsp, 25 g): Just enough to give that subtle chocolate backbone without overpowering the red velvet identity.
- Baking soda (1/2 tsp): Works with the vinegar to create lift and that tender crumb everyone loves.
- Salt (1/4 tsp): A small amount that wakes up every other flavor in the batter.
- Vegetable oil (1/2 cup, 120 ml): Oil keeps these moister than butter ever could, and the difference is noticeable days later.
- Granulated sugar (3/4 cup, 150 g): Sweetness balanced by the tang of buttermilk and cream cheese frosting.
- Large egg, room temperature (1): Binds everything together, and room temp means it blends smoothly into the batter.
- Buttermilk, room temperature (1/2 cup, 120 ml): The secret to that velvety texture, so never skip it or substitute regular milk.
- Red food coloring gel (1 tbsp): Gel gives far more vibrant color than liquid, and you need less of it.
- Pure vanilla extract (1 tsp for batter, 1 tsp for frosting): Rounds out the flavor in both the cake and the frosting.
- Distilled white vinegar (1/2 tsp): Reacts with baking soda for a lighter, fluffier crumb.
- Oreo cookies, roughly chopped (10 for batter, 6 crushed for frosting): The star addition, and chopping them rough keeps satisfying pockets of cookie throughout.
- Unsalted butter, softened (1/2 cup, 115 g): The base of the frosting, and softened means you can press it with your finger without resistance.
- Cream cheese, softened (8 oz, 225 g): Full fat cream cheese makes the frosting luxuriously tangy and thick.
- Powdered sugar, sifted (2 cups, 250 g): Sifting is nonnegotiable here unless you enjoy lumpy frosting.
Instructions
- Preheat and prepare:
- Set your oven to 350°F (175°C) and line a 12-cup muffin tin with paper liners. This is the part where I always remind myself to double check the oven rack is in the center position.
- Whisk the dry ingredients:
- In a medium bowl, whisk together the flour, cocoa powder, baking soda, and salt until evenly combined. Set it aside and take a moment to appreciate how cocoa powder smells like possibility.
- Combine the wet ingredients:
- In a large bowl, beat the oil and sugar together until they look like wet sand. Add the egg, buttermilk, food coloring, vanilla, and vinegar, then mix until everything is smooth and that gorgeous red color is uniform throughout.
- Bring it all together:
- Gradually pour the dry ingredients into the wet mixture, stirring just until you no longer see streaks of flour. Overmixing is the enemy of tender cupcakes, so stop yourself before you get carried away.
- Fold in the Oreos:
- Gently fold the chopped Oreo pieces into the batter with a spatula, using as few strokes as possible. You want those cookie chunks distributed but not smashed into dust.
- Fill and bake:
- Divide the batter evenly among the liners, filling each about two thirds full, and bake for 18 to 20 minutes. A toothpick inserted in the center should come out clean, and the tops will spring back when gently pressed.
- Cool completely:
- Let the cupcakes rest in the pan for 5 minutes, then transfer them to a wire rack. They must be completely cool before frosting or you will have a melted disaster on your hands.
- Make the frosting:
- Beat the softened butter and cream cheese together until creamy and free of lumps. Add the sifted powdered sugar and vanilla, then beat on medium high until the frosting is fluffy, light, and holds its shape.
- Add cookie crunch:
- Gently fold the finely crushed Oreos into the frosting with a spatula. Finely crushed is key here because large chunks will clog your piping bag and test your patience.
- Frost and garnish:
- Pipe or spread the frosting generously onto each cooled cupcake. Sprinkle extra Oreo crumbs on top if you want that bakery style finish that makes people reach for their phones.
 Save
Save One rainy Saturday I frosted an entire batch while my niece sat on the counter beside me, stealing Oreo crumbs and telling me about her school week. She ate her cupcake in total silence, which from a chatty seven year old is the highest compliment I have ever received.
What to Watch For
The batter should look thick but pourable, almost like a rich milkshake in consistency and color. If it seems too thin, you may have overmeasured the buttermilk, and if too thick, a tablespoon more will fix it. The cupcakes are done when the edges pull slightly from the liner and the tops are set with a gentle bounce.
Serving and Storing
These cupcakes are at their absolute best on day one, but they hold up beautifully in the refrigerator for up to three days when stored in an airtight container. Chilling them actually firms up the frosting into something almost fudge like, which some people prefer. Let them sit at room temperature for about twenty minutes before serving so the cake softens back up.
Adapting This Recipe
This recipe is surprisingly flexible once you understand the base. I have swapped in chocolate chips alongside the Oreos, used gluten free flour blends with excellent results, and even tried double stuffed cookies for extra creaminess in the batter.
- Gluten free flour and gluten free cookies work well as a straight substitution.
- White chocolate chips folded in with the Oreos add a lovely sweetness contrast.
- Always check your food coloring and cookie labels for hidden allergens.
 Save
Save These cupcakes have never failed to make a room full of people happy, and that is really all I have ever wanted from baking. Share them generously and keep a few hidden in the back of your fridge for later.
Common Recipe Questions
- → Can I make these cupcakes ahead of time?
-
Yes, you can bake the cupcakes a day in advance and store them in an airtight container at room temperature. Frost them the day you plan to serve for the freshest presentation and texture.
- → Why is buttermilk used in red velvet batter?
-
Buttermilk adds tanginess and reacts with baking soda to create a light, tender crumb. Combined with vinegar, it helps maintain the characteristic soft texture that distinguishes red velvet from standard chocolate cake.
- → Can I use natural food coloring instead of gel?
-
You can substitute natural food coloring, but you will need significantly more to achieve the same vibrant red shade. Gel coloring is preferred because it delivers intense color without adding extra liquid to the batter.
- → How should I store leftover cupcakes?
-
Store frosted cupcakes in an airtight container in the refrigerator for up to three days. Let them sit at room temperature for about 20 minutes before serving so the frosting softens and the flavors come through.
- → Can I freeze these cupcakes?
-
You can freeze the unfrosted cupcakes for up to two months by wrapping them tightly in plastic wrap and placing in a freezer bag. Thaw overnight in the refrigerator, then frost as desired. Frosted cupcakes can also be frozen but the frosting texture may change slightly.
- → What can I substitute for buttermilk?
-
Mix half a cup of regular milk with half a tablespoon of lemon juice or white vinegar and let it sit for five minutes. This homemade buttermilk substitute works well and keeps the batter properly acidic.