 Save
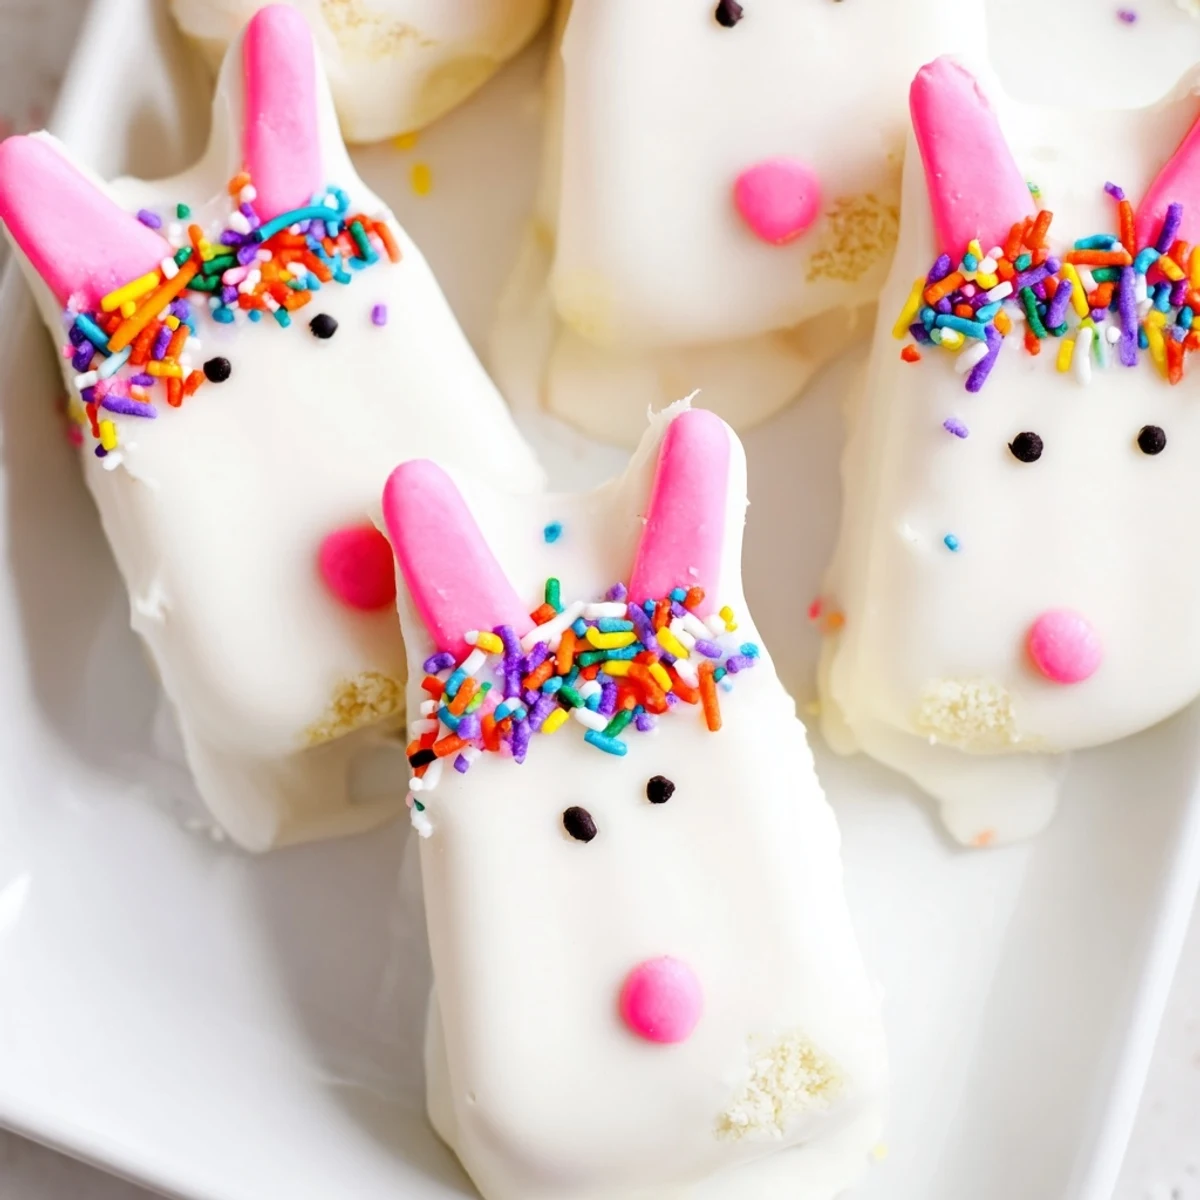
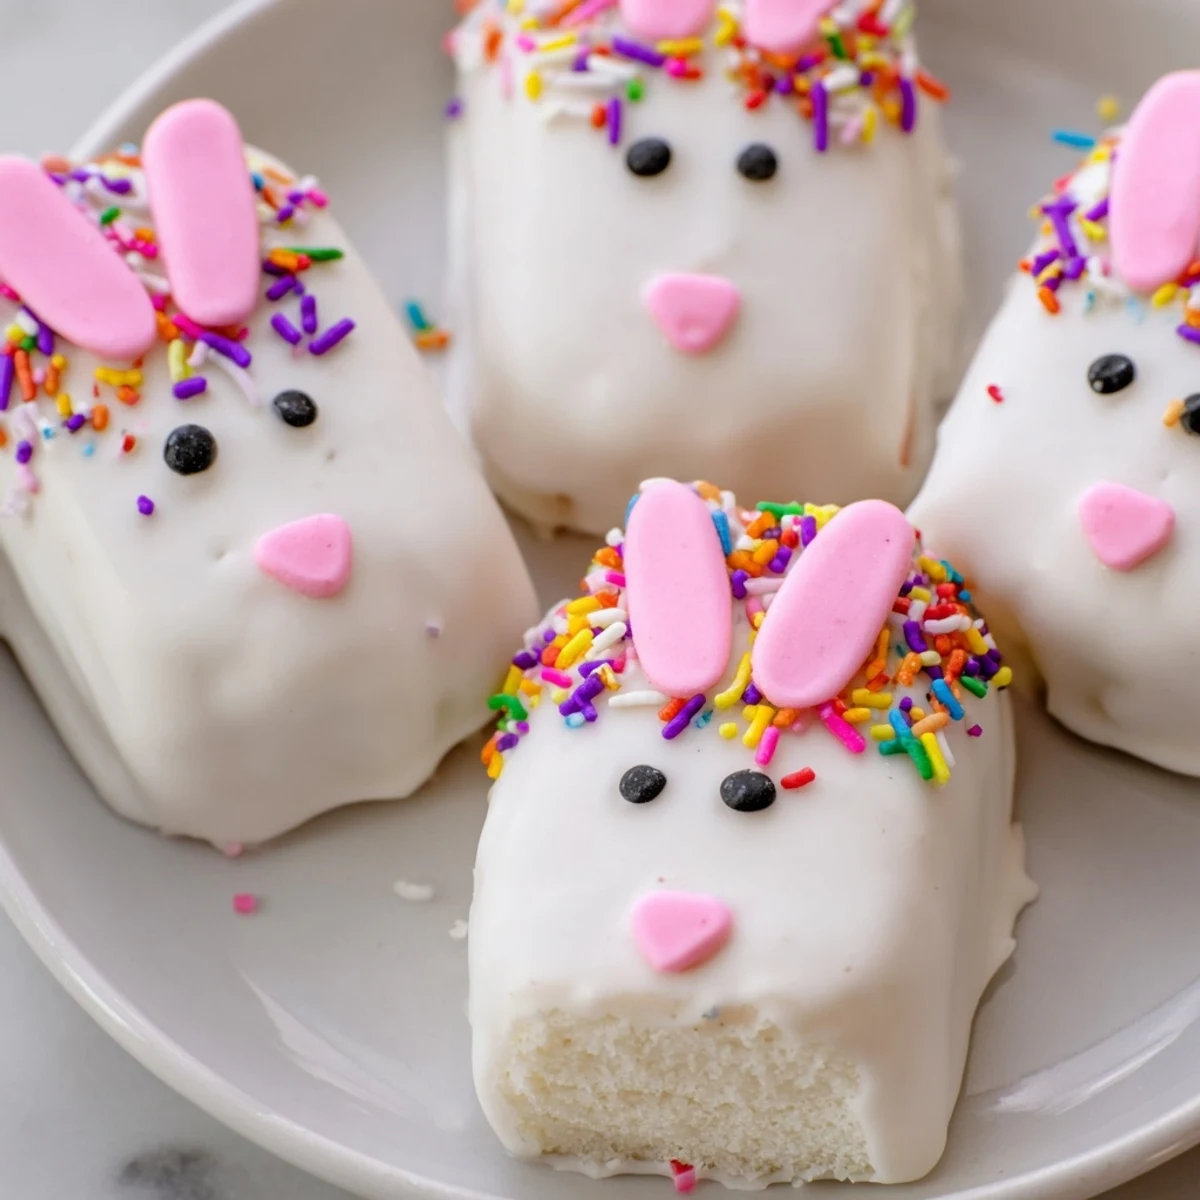
Save Create these delightful bunny-shaped treats by combining vanilla cake crumbs with cream cheese, butter, and powdered sugar. Shape into flattened ovals, insert sticks, then dip in melted white chocolate. Decorate with candy eyes, sprinkles, and fondant features for charming Easter-ready sweets. The creamy coating balances perfectly with the moist cake center, while the playful bunny shape brings festive cheer to any spring gathering. Ready in just one hour with simple ingredients and basic kitchen tools.
Last Easter, my daughter spotted these bunny cakesicles on social media and begged me to make them. We spent a rainy Sunday afternoon covered in white chocolate and sprinkles, making gloriously messy bunny faces that looked slightly drunk but tasted absolutely heavenly. Now they are requested for every family gathering, spring celebration, and sometimes just because Tuesday needs more edible cuteness.
I accidentally discovered that chilling the shaped bunnies before dipping prevents the dreaded sliding off the stick disaster. The year I skipped this step, half our bunnies became chocolate coated puddles on the baking sheet. Now I patiently wait the full chill time, and honestly, it makes the whole process so much more enjoyable when everything actually works like its supposed to.
Ingredients
- Vanilla cake crumbs: These form the base of your cakesicles, and using slightly stale cake actually works better since it absorbs moisture without becoming gummy
- Cream cheese: This acts as the binder that holds everything together while adding that delightful tangy creaminess
- Unsalted butter: Room temperature butter mixes seamlessly into the cake crumbs creating that perfect dough like consistency
- Powdered sugar: Just enough sweetness to balance the cream cheese without making the mixture overly sweet
- Vanilla extract: Pure vanilla extract enhances all the flavors and adds that classic bakery taste
- White chocolate: High quality white chocolate melts beautifully and creates that gorgeous smooth coating
- Edible gel food coloring: Essential for creating those cute pink bunny noses and ears
- Cakesicle sticks: These sturdy sticks hold your bunny creations securely
- Sprinkles and decorations: Candy eyes, fondant ears, and colorful sprinkles bring your bunnies to life
Instructions
- Mix the cake mixture:
- Combine cake crumbs, softened cream cheese, butter, powdered sugar, and vanilla in a bowl until mixture holds together when squeezed
- Shape into bunnies:
- Portion mixture into 8 equal pieces, then gently flatten each into an oval bunny face shape with slightly pointed ears
- Add sticks and chill:
- Press a stick about halfway into each bunny shape, then refrigerate for at least 20 minutes until completely firm
- Melt the chocolate:
- Melt white chocolate in 30 second intervals, stirring between each burst until completely smooth and glossy
- Dip and coat:
- Dip each chilled bunny into melted chocolate, tap gently to remove excess, then immediately add decorations before coating sets
- Set and serve:
- Let cakesicles set completely at room temperature or speed things up with 10 minutes in the refrigerator
 Save
Save My niece now asks specifically for Aunties bunny pops instead of regular Easter eggs, and seeing her little face light up when she pulls one from the arrangement makes all the sticky fingers and chocolate streaked countertops completely worth it.
Getting Creative With Flavors
While vanilla is classic, chocolate cake crumbs make stunning dark bunnies, and lemon adds such a fresh spring brightness. Red velvet creates the most gorgeous deep pinkish hue that looks particularly elegant. The base cake flavor really does change the entire character of these treats.
Decorating Like A Pro
Candy eyes are the fastest way to give your bunnies personality, but a simple pink nose made from a sprinkle or drop of colored chocolate works beautifully too. I keep toothpicks handy for positioning tiny decorations precisely where I want them before the coating hardens.
Making Ahead And Storage
These actually taste better after a day in the refrigerator when all the flavors have had time to meld together. Store them layered between parchment paper in an airtight container, and they will stay fresh for up to three days. They also freeze beautifully for up to a month if you want to get a head start on Easter prep.
- Wrap each cakesicle individually in plastic wrap before freezing for extra protection
- Let frozen cakesicles thaw in the refrigerator to prevent condensation from forming on the chocolate
- Bring to room temperature for about 15 minutes before serving for the best texture
 Save
Save These bunny cakesicles have become such a beloved tradition in our house, and I hope they bring just as much joy to your Easter celebrations as they have to ours.
Common Recipe Questions
- → How far in advance can I make these cakesicles?
-
These treats stay fresh for up to 3 days when stored in an airtight container in the refrigerator. You can prepare the cake mixture and shape them one day ahead, then coat and decorate the next day for best results.
- → What other cake flavors work well for these?
-
Chocolate cake creates a lovely contrast with white chocolate coating. Lemon or strawberry cake adds bright spring flavors. Red velvet creates a pretty speckled look through the white coating.
- → Can I freeze these bunny treats?
-
Yes, freeze undecorated coated cakesicles for up to one month. Thaw in the refrigerator overnight, then add decorations before serving. The texture remains wonderfully moist.
- → What's the best way to melt the white chocolate?
-
Melt in 30-second intervals in the microwave, stirring between each burst. This prevents seizing and ensures smooth, dippable consistency. A double boiler works equally well if you prefer stovetop melting.
- → How can I make the bunny ears stand out?
-
Use pink-tinted white chocolate or candy melts for ear details. Fondant shapes, modeling chocolate, or even pretzel sticks dipped in colored coating create adorable dimension. Attach while coating is still soft.
- → What if my cake mixture feels too dry or crumbly?
-
Add cream cheese one teaspoon at a time until the mixture holds together when pressed. The dough should be pliable but not sticky. Too much moisture will make dipping difficult.